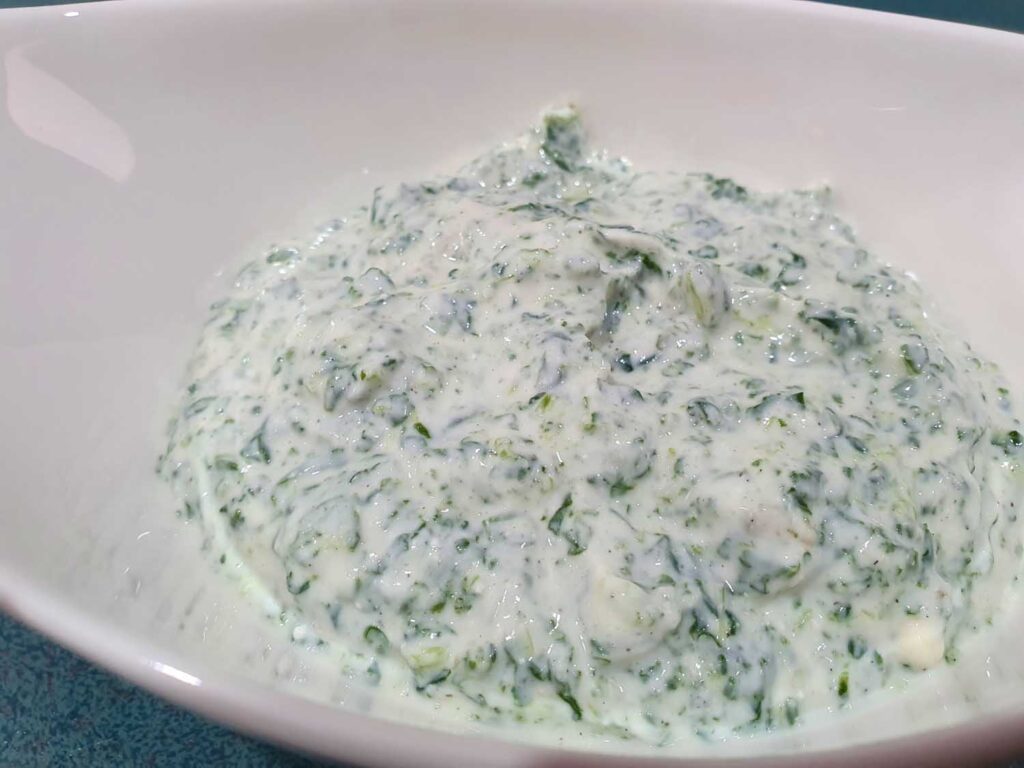
Spinach and yogurt goes really well together. This simple recipe combines the flavours of spinach, garlic and yogurt to makes a simple dip, and using frozen spinach makes it a quick and easy accompaniment to a trio of dips.
In this recipe I use powdered garlic, not only does this make it quicker to prepare, but the flavour of the garlic is easily mixed into the yogurt.
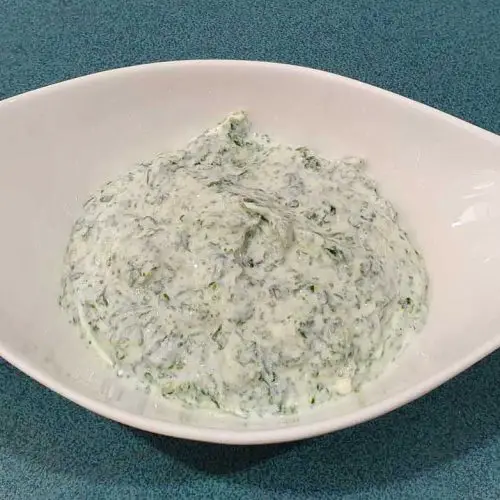
Yogurt & Spinach recipe
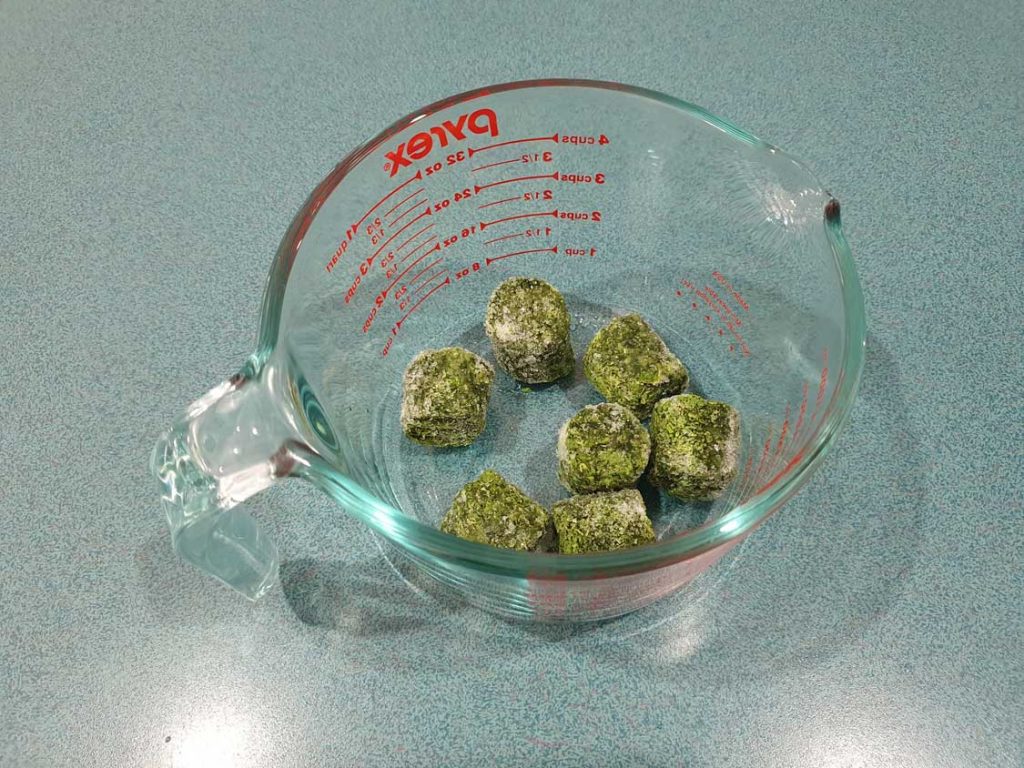
Place the frozen spinach in a microwave jug, and microwave for 30 – 60 seconds until defrosted.
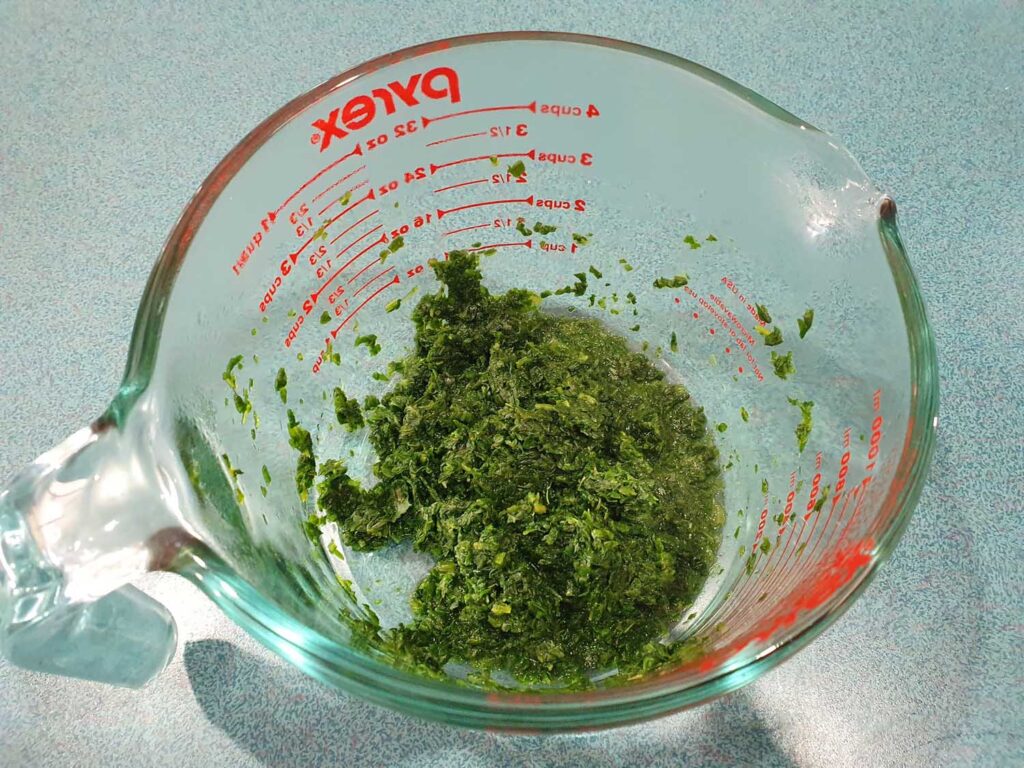
Stir through and squeeze out as much liquid as possible.
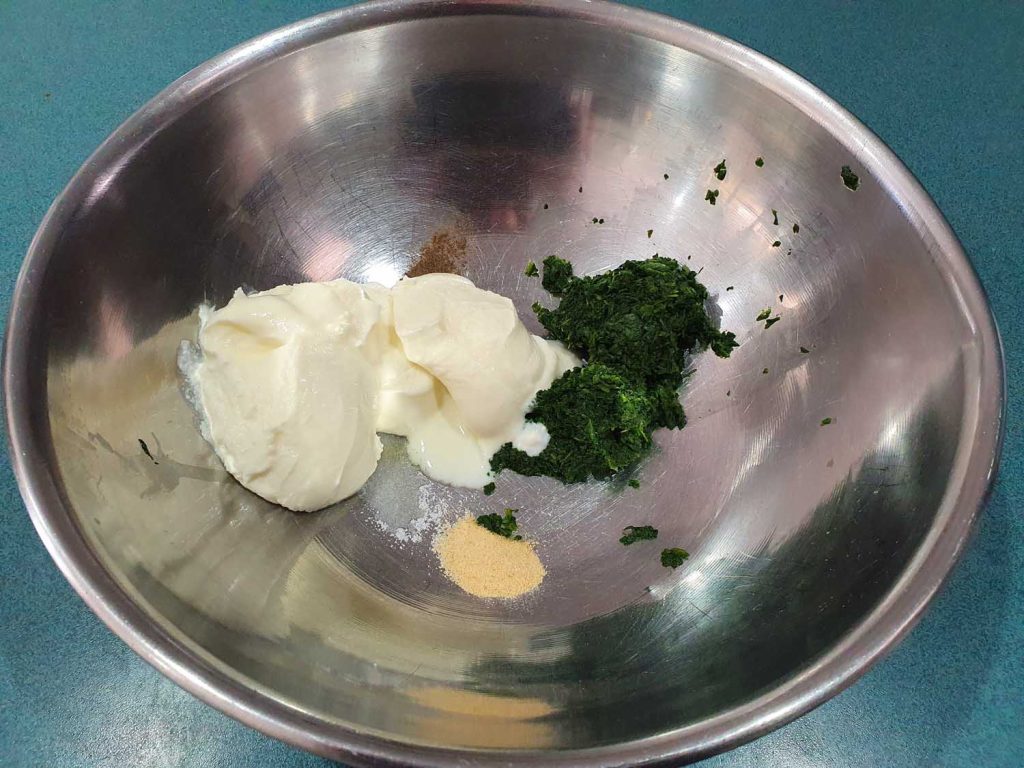
Add to a mixing bowl with the thickened yogurt, salt, pepper and garlic powder.
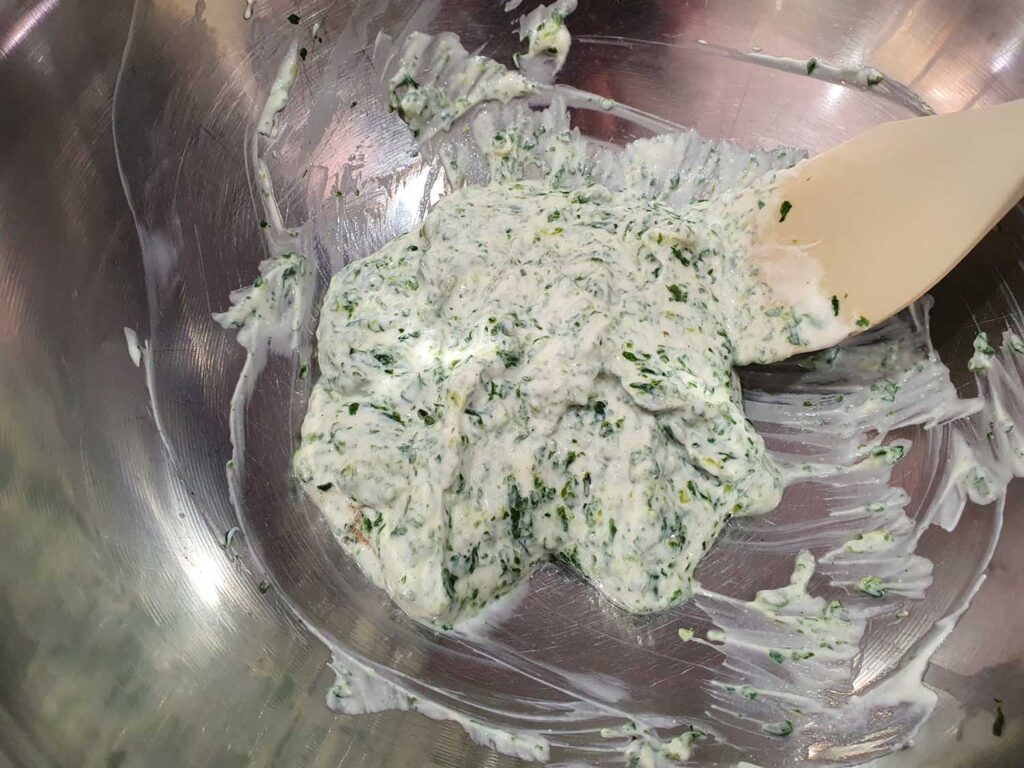
Gently stir together to combine well. Be careful not to mix to vigorously as this will release the liquid from the yoghurt, making it watery.
Traditionally borani is a dish where a vegetable has been boiled, then sautéed with garlic and topped with yogurt. Borani Esfenaj is simply a dish where the spinach is boiled, and then sautéed with garlic.
This recipes is a quick adaptation of the traditional Borani Esfanaj using frozen spinach and garlic powder.
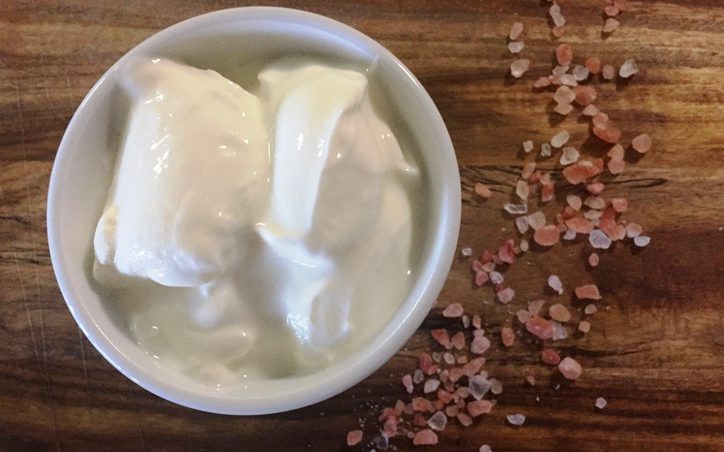
This recipe for pot yogurt has developed over time and now I have 100% success. Always resulting in thick, creamy yogurt every time, regardless of how little or how much I make.
Sometimes I will make as much as 8 kgs at a time, and give extra to my boys when they come over with their wives on family night. But, still as a family of three at home, we would eat at least 2ks a week of this natural thick yogurt.
It is called pot yogurt because the ingredients are mixed and poured into a pot to set at a temperature of 45 Deg C. My secret that makes the yogurt set every time is that I use my oven set at 45 Deg, resulting in a consistent temperature.
The yogurt is usually ready after 6 hours, but I often leave it in overnight and put it in the fridge in the morning.
Another secret, that makes this yogurt recipe so easy is UHT milk. No more heating the milk to the correct temperature before adding in the starter. Simply start with UHT milk and the manufacturer has done the hard work for you. The Ultra Heat Treatment prepares the milk ready for the starter to do it’s work.
Always make sure you keep around 500g of the last batch of yogurt, ready for the next batch.
How to make Pot Yogurt
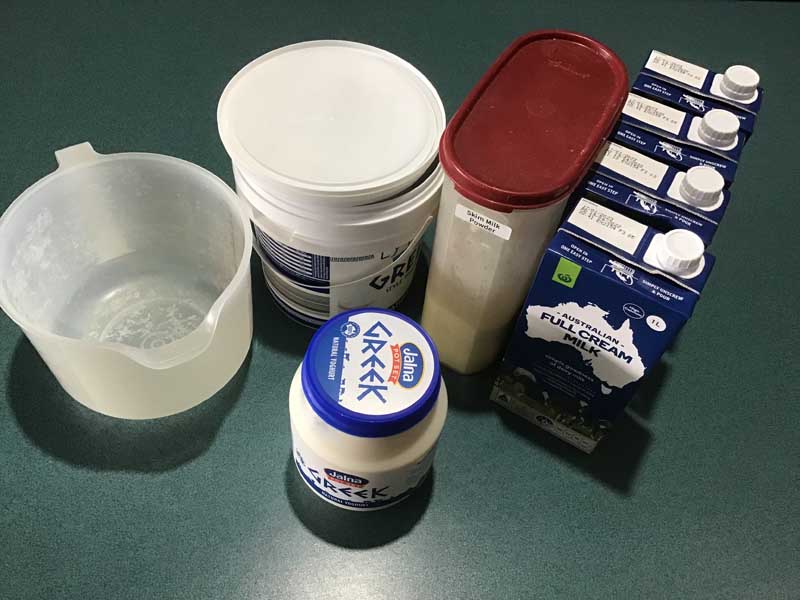
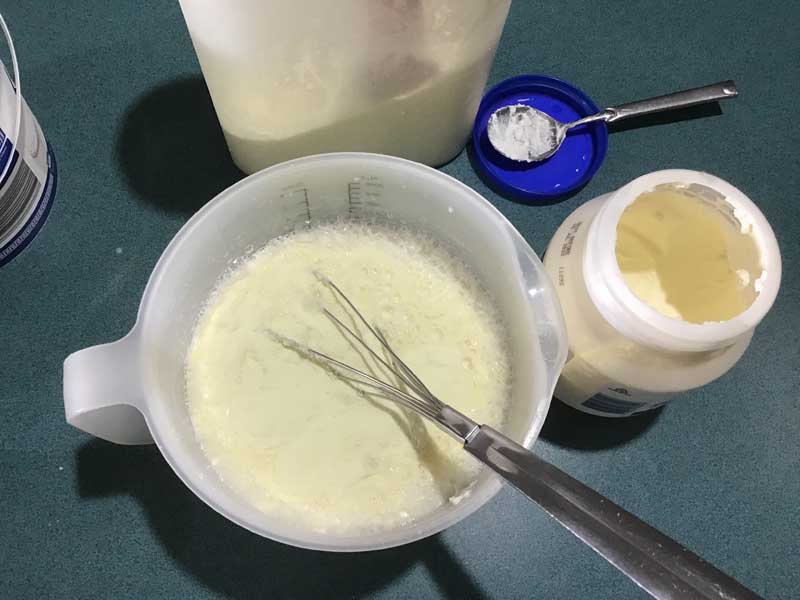
You will need a good 2 liter jug that pours will and a whisk. You can increase the qty, by using the same ratio. I keep old bought yogurt containers and use these when making yogurt.
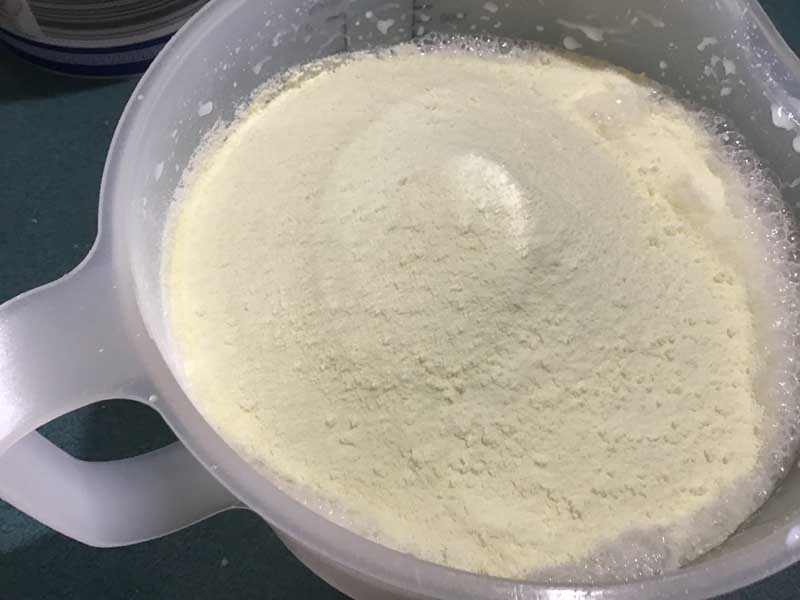
Pour 1 liter of UHT milk into the jug, and add 2 tlbs of yogurt and 6 scoops (2 cups) of skim milk powder. Whisk together till well mixed.
Add in more UHT milk to make up to 2 liters.
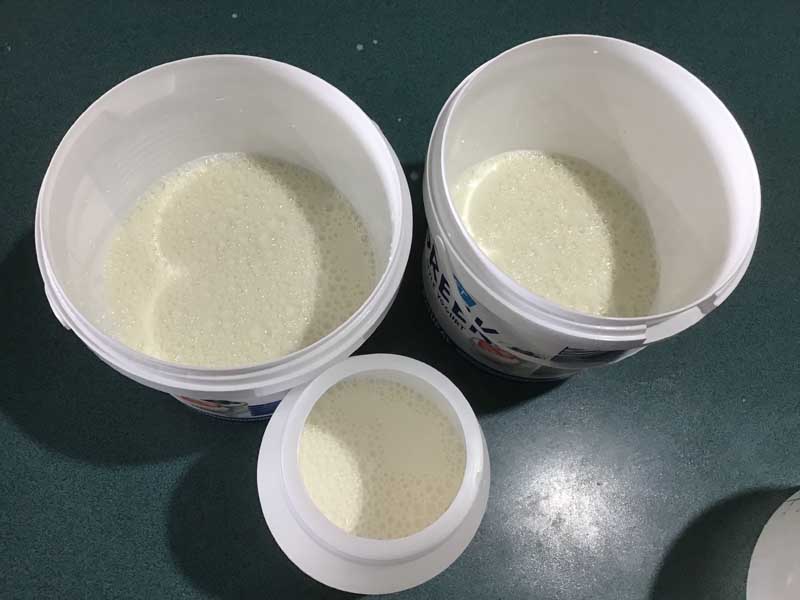
Pour into sterilized containers you are going to use to set your pot yogurt.
Repeat with more UHT milk, yogurt and skimmed milk powder, mix well and add more UHT milk to make 2 litres.
Top up the yogurt pots with the yogurt mixture.
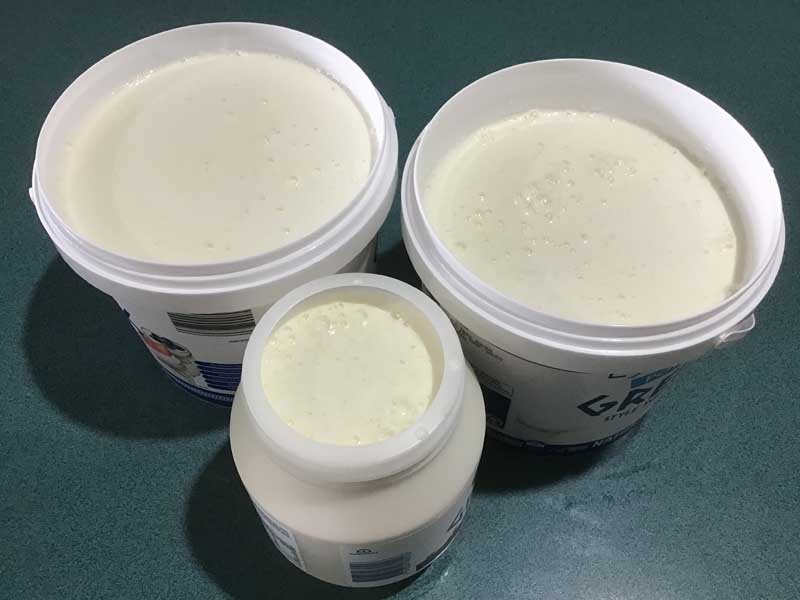
To set the pot yogurt, heat the oven to 45 Deg C and place the pots on a wire rack in the middle or towards the bottom of the oven. Leave to set for about 6 hours, and your pot yogurt should be set and ready to cool.
Test the yogurt by removing the lid and gently tipping the pot. The yogurt should be firm and completely set. If not, the return it to the oven and test again in a couple of hours.
I often put it in the oven in the early afternoon, and turn off the oven before I go to bed and the yogurt is ready to be cooled in the refrigerator in the morning.
Do remember, usually the longer the yogurt takes to set, the sourer the yogurt is. I find a nice plain natural yogurt takes about 6 hours in the oven.
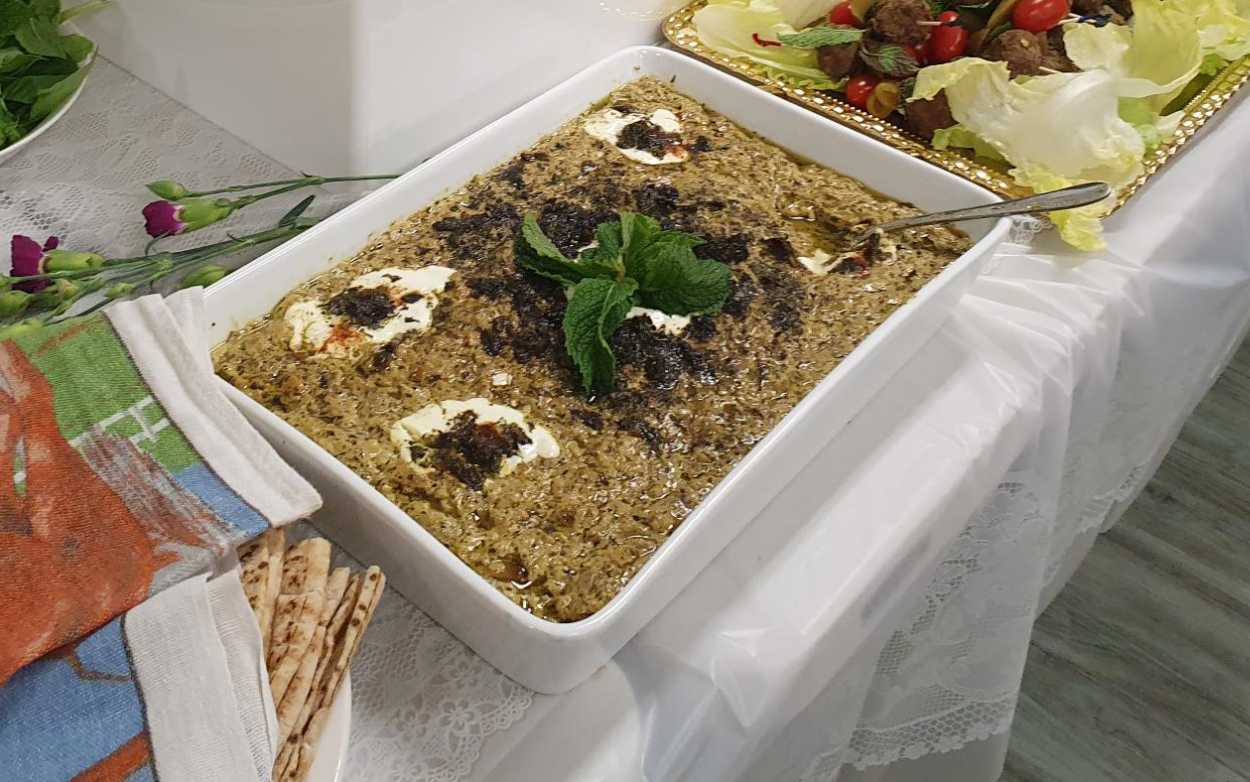
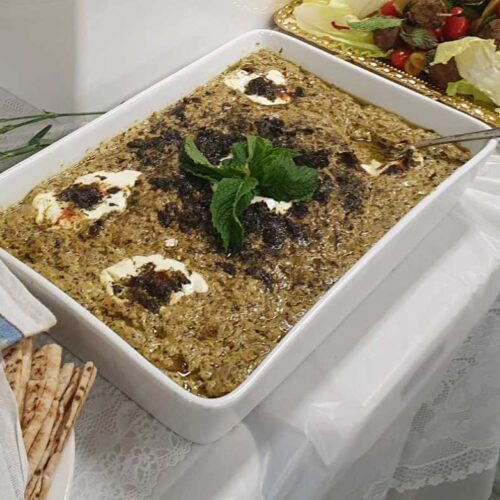
Kashke Bademjan is a beloved Persian eggplant dip that combines rich flavors and a delightful texture, making it a staple in Iranian cuisine. This versatile appetizer is perfect for sharing and pairs wonderfully with pita or flatbread. In this article, we will explore the intricacies of Kashke Bademjan, highlighting its ingredients, health benefits, and unique role in Persian cooking.
What is Kashke Bademjan?
Kashke Bademjan is a traditional Persian eggplant dip that showcases the essence of Iranian flavors. This dish typically features roasted eggplant mashed to a creamy consistency and combined with kashk, which adds a distinct tanginess. The dip is often garnished with caramelized onions, garlic, and dried mint, creating a harmonious blend of textures and tastes that makes it a popular appetizer in Persian restaurants and households alike.
Understanding the Ingredients
To make Kashke Bademjan, essential ingredients include eggplant, kashk, onion, garlic, and a mix of spices like turmeric and dried mint. The process often begins by frying or roasting the eggplant until it becomes tender and flavorful. Once cooked, the eggplant is mashed and mixed with sautéed onions, allowing the flavors to meld beautifully. This eggplant mixture is then enhanced with the addition of kashk, which not only enriches the dip but also contributes to its signature taste.
The Role of Kashk in Persian Cooking
Kashk is a fermented dairy product, akin to whey, that plays a crucial role in Persian cooking. It can be found in both dry and liquid forms, and its unique flavor profile elevates dishes like Kashke Bademjan to new heights. By adding kashk, you introduce a creamy texture and a subtle tang that complements the roasted eggplant perfectly. This ingredient is often used in various Persian recipes, making it a staple in the Iranian culinary tradition.
Health Benefits of Eggplant
Eggplant, the star ingredient in Kashke Bademjan, is not only delicious but also packed with health benefits. Rich in antioxidants, vitamins, and minerals, eggplant is known to promote heart health and aid in weight management. Its high fiber content supports digestive health, making it a wise choice for those looking to incorporate more nutritious foods into their diet. Additionally, when combined with yogurt or sour cream, the dish can provide a satisfying and wholesome option for health-conscious individuals.
How to Make Kashke Bademjan
Step-by-Step Recipe
To make Kashke Bademjan, begin by preparing your ingredients. Start with two medium-sized eggplants, and roast them in the oven until soft. Occe cooked they will completely collapse. Place them in a bowl to cool. Once the eggplants have cooled, remove the skin and mash them until creamy. In a skillet, caramelize onions and garlic before adding the cooked eggplant. Finally, incorporate kashk, and stir until well combined, creating a luscious dip that embodies the essence of Persian cuisine.
Tips for Cooking the Eggplant
Cooking the eggplant properly is crucial for achieving the perfect texture in your Kashke Bademjan. Whether you choose to roast or fry the eggplant, ensure that it becomes tender without losing its flavor. If frying, do so over medium heat to avoid burning. Alternatively, roasting the eggplant in the oven until it is charred enhances its smoky flavor. After cooking, allow the eggplant to cool slightly before mashing, as this will help achieve a smoother consistency. Consider adding a pinch of saffron for an elevated taste that complements the dish beautifully.
Variations of the Recipe
Kashke Bademjan is a versatile dish that allows for various adaptations to suit personal preferences. For a nutty twist, incorporate finely chopped walnuts into the eggplant mixture. You can also experiment with different types of eggplants, such as Italian or Chinese eggplant, for varying textures and flavors. For a creamier dip, mix in Greek yogurt or sour cream alongside the kashk. Lastly, feel free to garnish with dried mint leaves or a drizzle of olive oil for an extra touch of flavor. These variations highlight the dish’s adaptability within Persian cooking and beyond.
Serving Suggestions for Your Persian Eggplant Dip
Best Garnishes to Enhance Flavor
To elevate your Kashke Bademjan, consider garnishing it with fresh ingredients that accentuate its rich flavors. Caramelized onions and a sprinkle of dried mint leaves add depth and a pop of color. A drizzle of olive oil not only enhances the dish’s appearance but also contributes a smooth texture. For an extra kick, try adding a pinch of saffron or a dash of paprika, which complements the earthy notes of the roasted eggplant beautifully.
Pairing with Other Persian Dishes
Kashke Bademjan serves as an exquisite appetizer that pairs well with a variety of Persian dishes. Complement this eggplant dip with fresh pita or flatbread for a satisfying snack. It also harmonizes with grilled meats, such as kebabs, and can be enjoyed alongside rice dishes like saffron-infused Persian rice. Additionally, serving it alongside a refreshing salad or yogurt-based dishes can balance the richness of the dip, creating a well-rounded Persian meal.
Using Kashke Bademjan as an Appetizer
As a versatile Persian appetizer, Kashke Bademjan is perfect for gatherings or intimate dinners. Serve it at room temperature for the best flavor, allowing guests to dip pita or vegetable sticks directly into this creamy delight. For a stunning presentation, transfer the dip into a shallow bowl, and garnish it with toasted walnuts and a sprinkle of dried mint. This not only enhances the visual appeal but also invites your guests to savor the unique flavors of Persian cuisine.
Exploring More Eggplant Recipes
Other Popular Persian Eggplant Dishes
Beyond Kashke Bademjan, Persian cuisine boasts several other eggplant dishes that showcase this versatile vegetable. One such dish is Mirza Ghasemi, a smoky eggplant and tomato dip flavored with garlic and turmeric. Another favorite is Baidaq, where eggplants are stuffed with a spiced meat mixture, creating a hearty meal. These dishes highlight the rich culinary traditions of Iran, inviting food lovers to explore the diverse flavors of Persian eggplant dishes.
Creative Vegetarian Eggplant Dip Ideas
For those seeking vegetarian options, consider experimenting with your eggplant dip recipes. Blend roasted eggplant with tahini for a nutty twist, or incorporate Greek yogurt for added creaminess. You can also mix in herbs like basil or cilantro for a fresh flavor profile. By adjusting spices and garnishes, you can create a variety of dips that celebrate the humble eggplant while catering to different taste preferences and dietary needs.
Walnut-Infused Eggplant Recipes
Walnuts can add a delightful crunch and richness to eggplant dishes. One fantastic option is to create a walnut-infused Kashke Bademjan by finely chopping walnuts and mixing them into the eggplant mixture. This addition not only enhances the texture but also introduces a nutty flavor that pairs beautifully with the tangy kashk. Experimenting with different types of walnuts, such as toasted or spiced varieties, can further elevate the dish, making it a memorable addition to any Persian feast.
Eggplant with Buttermilk – Kashke Bademjan
A delightful vegetarian main dish traditionally served with bread. This recipes is a healthier version of the traditional Persian version.
One of the most well known Persian chicken salad, the salad is very similar to Russian salad. There is many variations of Persian Salad Olivieh. Some versions have shredded chicken or you can have a vegetarian Salad Olivieh with boiled eggs.
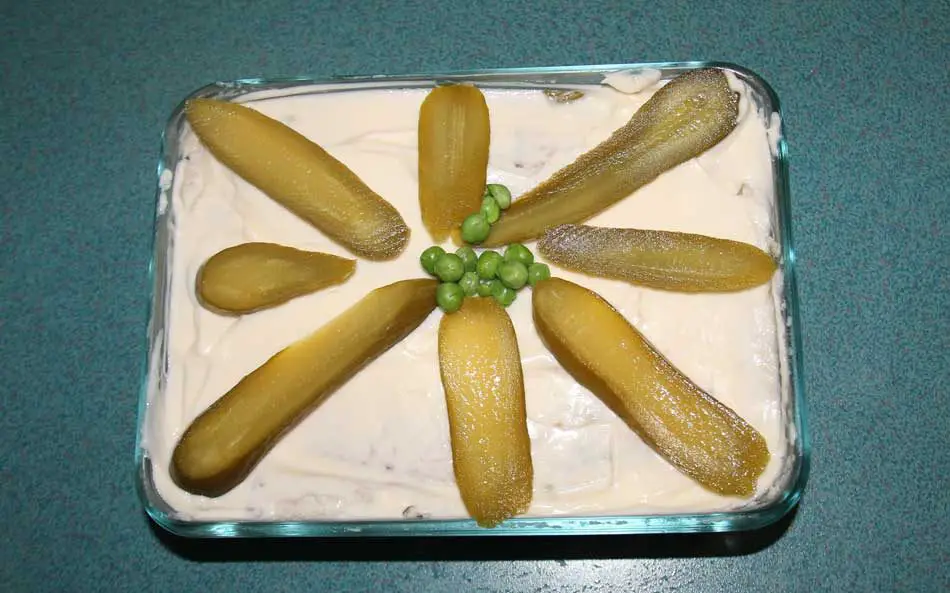
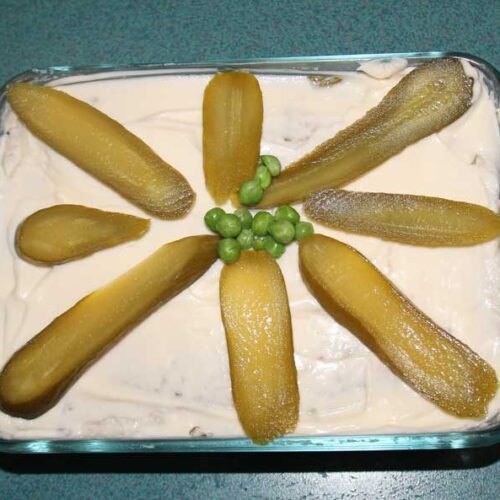
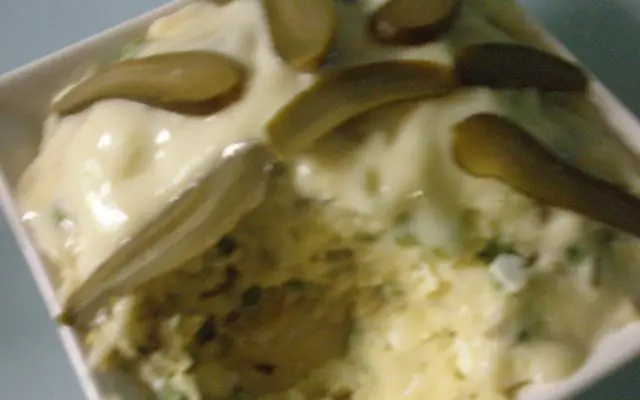
Otherwise known as Persian Potato Salad, you can serve salad olivieh with sliced dill pickle and cooked frozen peas as decoration.
When making salad olivieh, it is important to have the right balance between the potato, salad cream, chicken and dill pickles. Not enough salad cream or mayonnaise will make this dish heavy, and dry, whereas not enough chicken will make it just like a normal potato salad.
The cooked chicken must be completely cold before adding to the salad olivieh. Shredding the chicken will enable the chicken to be perfectly distributed through the salad olivieh.
You can use either chicken thigh fillet or chicken breast fillet, but I find the chicken thigh fillet is less stringy in the chicken salad.
Use a mixing bowl to combine all the ingredients, and there is nothing better than using your hands to mix it all through.
Salad Olivieh
A simple appetiser or delicious sandwich filling, this Persian chicken and potato salad is a must for any picnic. Served with Nun Barbari or on a French baguette
Steam chicken in enough water to just cover for about 20 minutes until well cooked, drain and leave to cool.
Peel potatoes and cut into quarters and place in a large saucepan
Boil with about 1 tsp salt in enough water to just cover until tender, then mash and leave to cool.
Place cooled chicken and dill cucumber in the bowl of a food processor and process till roughly chopped.
Tip into a large bowl and stir in the mashed potatoes.
Stir the mayonnaise through and add salt and pepper to taste.
Gently stir through the green peas.
To serve, tip into a flat dish similar to a lasagna dish, and smooth the surface. Spread with extra mayonnaise and decorate with the dill cucumbers, sliced lengthwise.
Notes
If desired you can replace the chicken fillet with a cold cooked BBQ chicken, removing and discarding the bones and skin.Persian Salad Olivieh sandwiches are great for picnics or a quick and easy lunch
Hard boil the eggs for about 10 minutes and leave to cool.
Peel eggs and finely mash.
Peel and and cut potatoes into quarters.
Boil with about 1 tsp salt in enough water to just cover until tender, then mash and leave to cool.
Place dill cucumber in the bowl of a food processor and process till roughly chopped.
Tip into a large bowl and stir in the mashed potatoes and eggs.
Stir the mayonnaise through and add salt and pepper to taste.
Gently stir through the green peas.
To serve, tip into a flat dish similar to a lasagne dish, and smooth the surface. Spread with extra mayonnaise and decorate with the dill cucumbers, sliced lengthwise.
A great refreshing mixed salad. Great with Koobideh Kebab or other grilled meats and rice. Originally form Shiraz, this salad is distinct with it’s crushed dried mint and lemon juice.
The finer the salad is cut the more the salad is admired by guests.
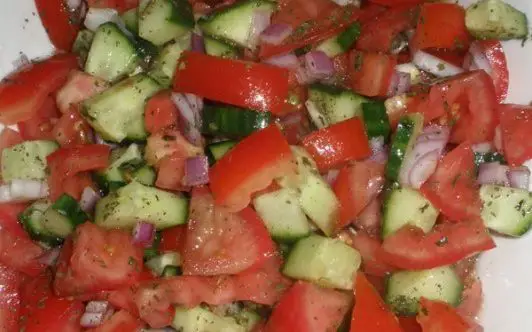
Shirazi Salad – Persian Tomato & Cucumber Salad
A great refreshing mixed salad. Great with Koobideh Kebab or other grilled meats and rice. Originally form Shiraz, this salad is distinct with it’s crushed dried mint and lemon juice.
Chop the cucumber, tomato and onion into small pieces.
Finely crush the mint in the palm of your hand and sprinkle on top.
Stir through the lemon juice
Add salt and pepper to taste.
Let stand for at least one hour before using to allow the flavours to develop.
Notes
I often add other salad vegetables into this dish, such as radish and green shallots, but to remain as a typical Shirizi salad only tomato cucumber and onion are used.
Place the rice in a large saucepan with the salt and pour enough boiling water over the rice to enable the rice to move freely after expansion from cooking.
Bring rice to the boil until it is 3/4 cooked. Still a little hard in the center to bite.
Rinse the rice under running water in a colander until the water runs clear.
Peel the potato and slice.
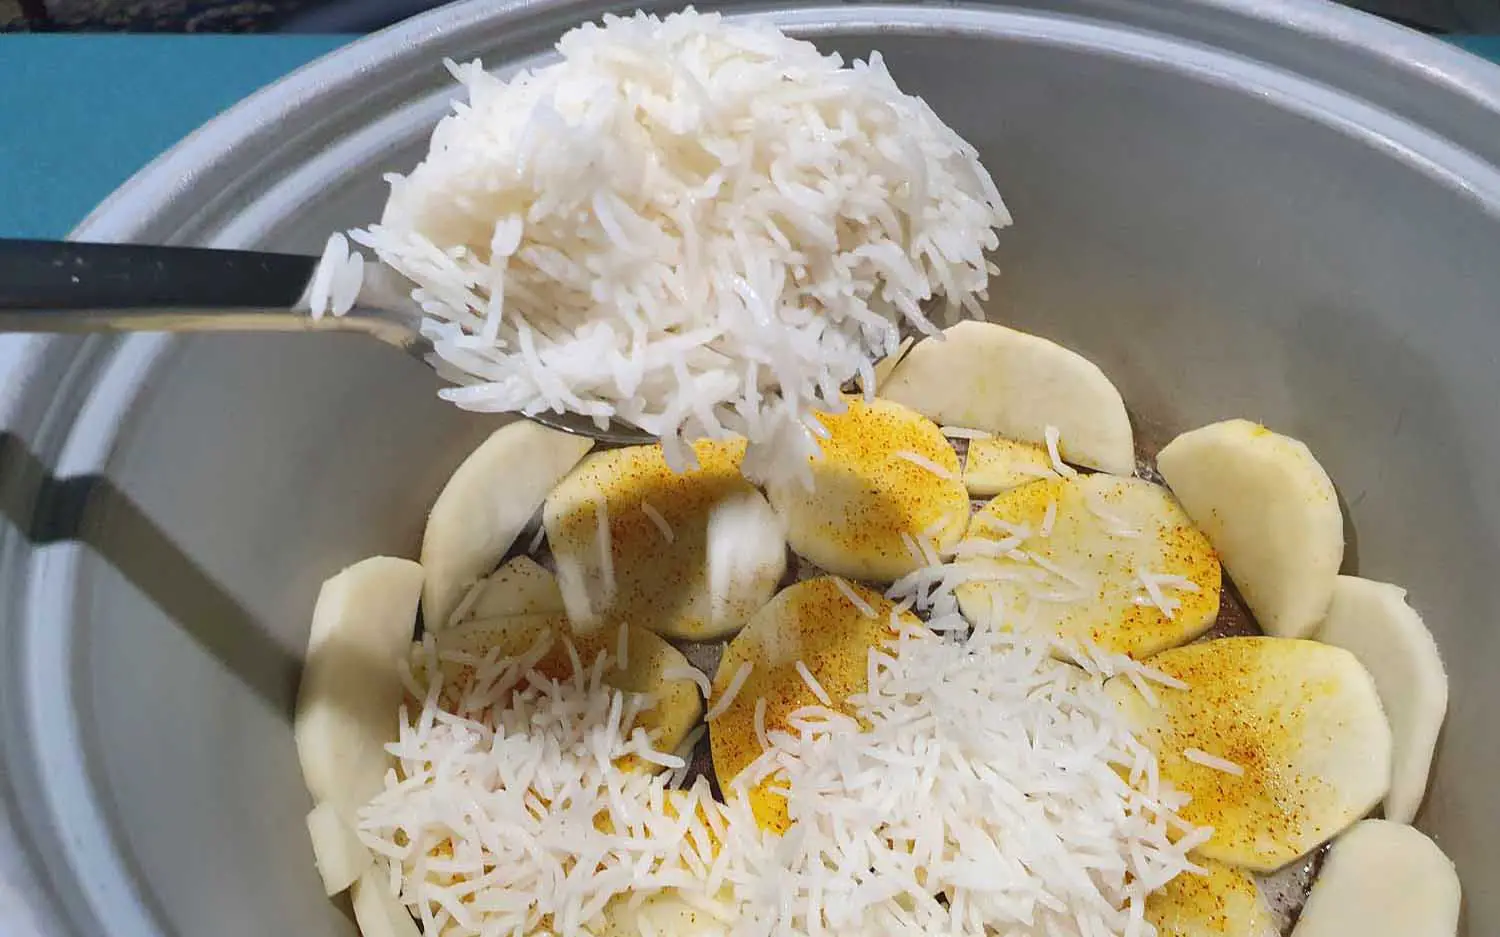
In the bottom of a Persian rice cooker pan, or a non-stick saucepan, brush half the ghee or olive oil and then layer the potato totally covering the bottom of the pan.
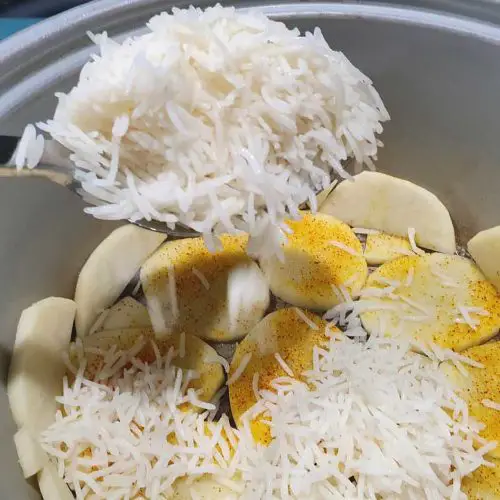
Gently spoon the rice over the potato, sprinkle the saffron powder over the rice, and add the remainder of the ghee or olive oil to the top of the rice.
Cover the rice cooker lid with a tea towel or cloth and place on the top of the pot.
Run the rice cooker through its cycle, if using a non stick saucepan, initially bring the heat to high until steam is formed in the saucepan, then reduce the temperature to low-med for about 30 minutes.
When the rice is ready, invert the pot onto a flat round serving dish, taking care to retain the tahdig.
Notes
When cooking rice it is important to prepare it gently and with care resulting in individual grains, steamed to perfection.
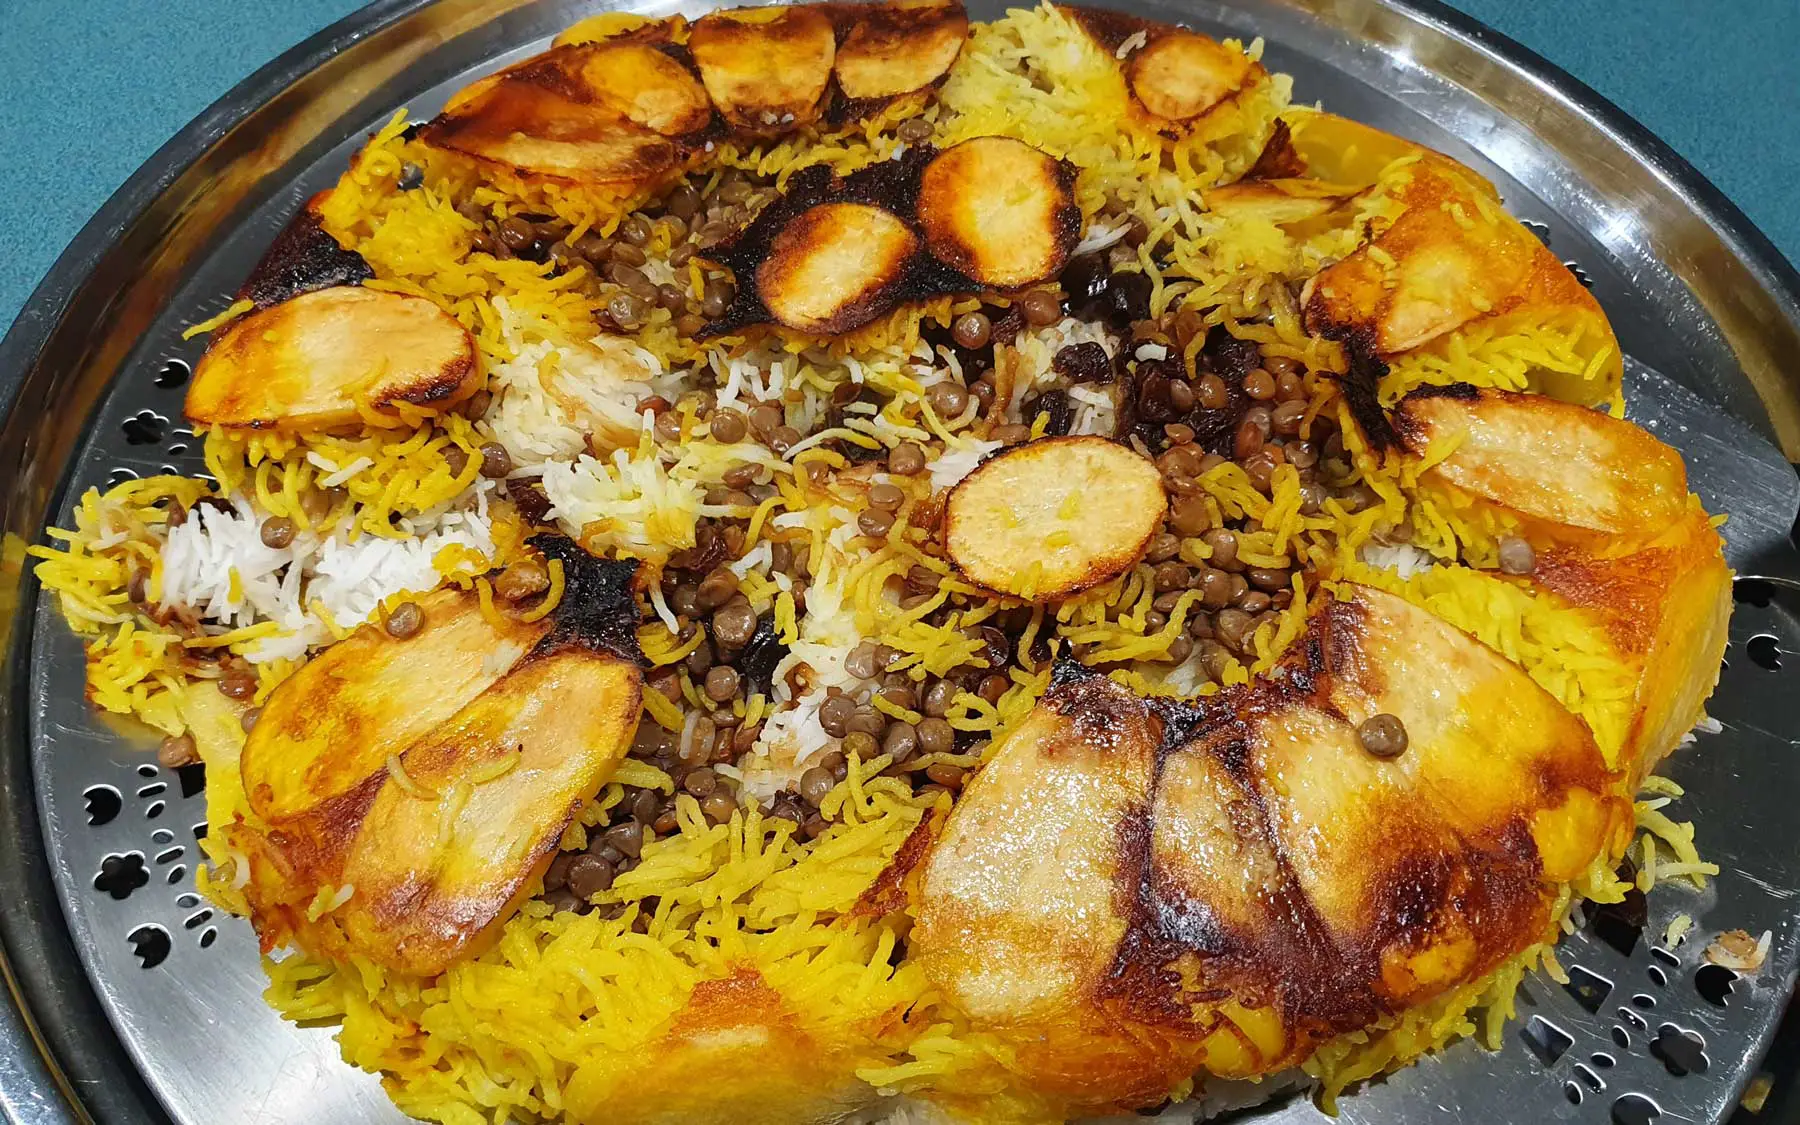
Wash the rice in water and then cook in rapidly boiling water until half cooked
Strain and wash rice under running water to remove any remaining starch
In the bottom of a heavy based saucepan, or a Persian Rice cooker, liberally pour olive oil (around 2 tlbs)
Cover with a layer of sliced, peeled potato to form the Tahdig
Place a layer of rice on the potato layer
Mix 1tsp of Saffron powder with ¼ cup boiling water and pour over the rice
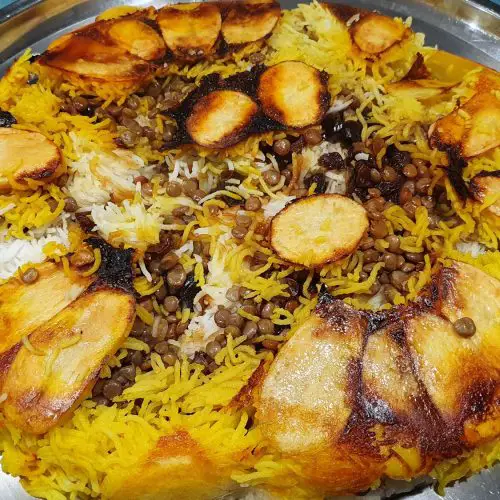
Add a layer of lentils, sultanas and dates, then another layer rice
Repeat finishing with a layer of rice
sprinkle with saffron powder and a pour around 2 tlbs olive oil over the top
Poke holes in the rice to encourage the steam to escape
Place a tea-towel or a cloth under the lid to absorb any excess moisture while the rice is steaming.
Cook on a high heat until the sides of the pan are hot to touch, then reduce the heat to low and cook for about 30 – 45 minutes. Alternately if using a Persian Rice cooker, allow to run the full cycle.
Place the bottom of the saucepan or rice cooker pan in about 3 cm of water in a sink to loosen the tahdig.
Turn the pan upside down onto a round serving dish to serve.
Notes
A Persian rice cooker makes this dish much easier as the Tahdig is formed perfectly each time with out the risk of either soggy or burnt Tahdig.
2tspeach of dried parsleydried coriander and dried dill
½tspsaffron powder
Instructions
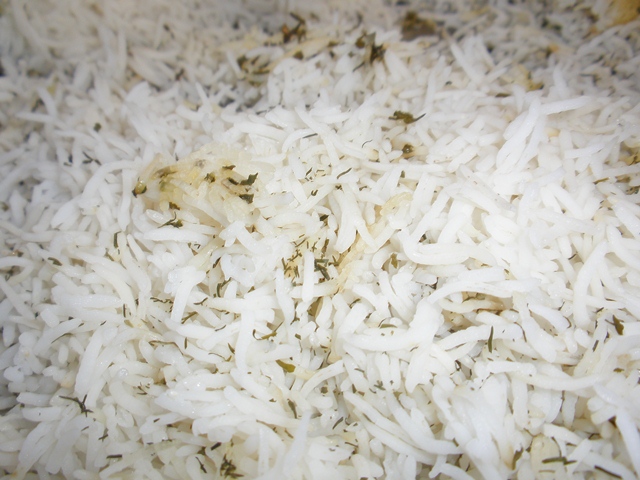
Wash the rice well, until the water runs clear.
Place the rice in a large saucepan with the salt and pour enough boiling water over the rice to enable the rice to move freely after expansion from cooking.
Bring rice to the boil until it is 3/4 cooked. Still a little hard in the center to bite.
Rinse the rice under running water in a colander until the water runs clear.
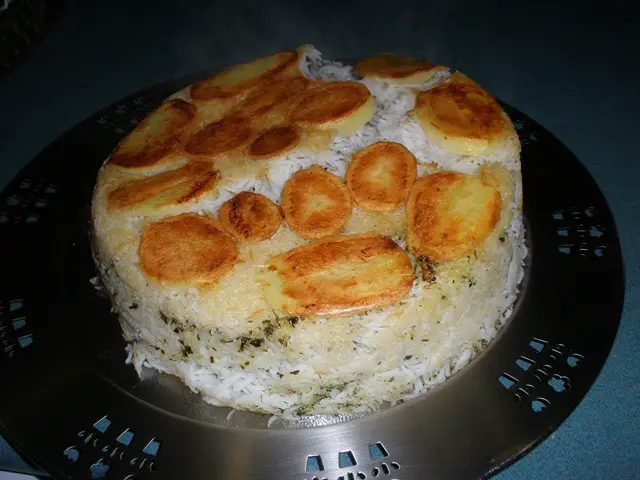
Peel the potato and slice.
In the bottom of a Persian rice cooker pan, or a non-stick saucepan, brush half the ghee and then layer the potato over the Ghee totally covering the bottom of the pan.
Gently spoon the on third of the rice over the potato, sprinkle one teaspoon of each of the dried herbs, and some saffron powder over the rice,
Repeat the layers of rice and herbs, the finish with a layer of rice.
Add the remainder of the Ghee to the top of the rice.
Cover the rice cooker lid with a tea towel or cloth and place on the top of the pot.
Run the rice cooker through its cycle, if using a non stick saucepan, initially bring the heat to high until steam is formed in the saucepan, then reduce the temperature to low-med for about 30 minutes.
When the rice is ready, invert the pot onto a flat round serving dish, taking care to retain the tahdig.
Notes
Sabzi Polo is just one version of layered rice, this recipe can be recreated with many other ingredients.
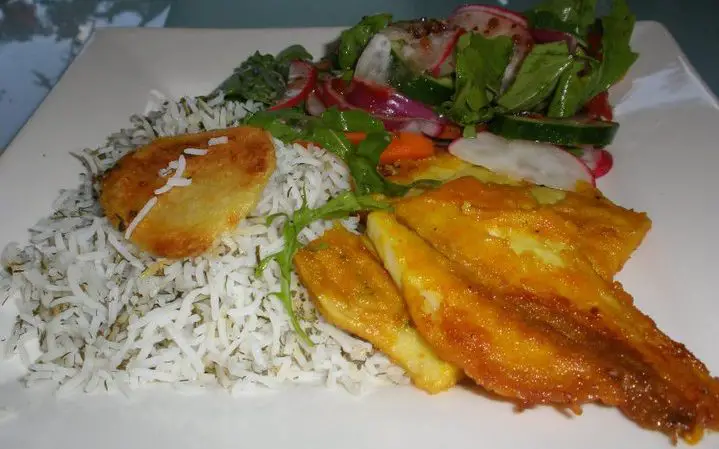
Sabzi Polo Mahi is a very traditional meal served on the Persian New Year (Naw Ruz). This fried fish traditionally accompanies the sabzi polo. But that doesn’t mean that you need to only have it at Naw Ruz
Fried Fish – Mahi
Sabzi Polo Mahi is a very traditional meal served on the Persian New Year. This fried fish traditionally accompanies the sabzi polo.
Yumm. Who doesn’t love grilled chicken. Served with a salad, on a sandwich or wrapped in flat pitta bread. It just tastes good.
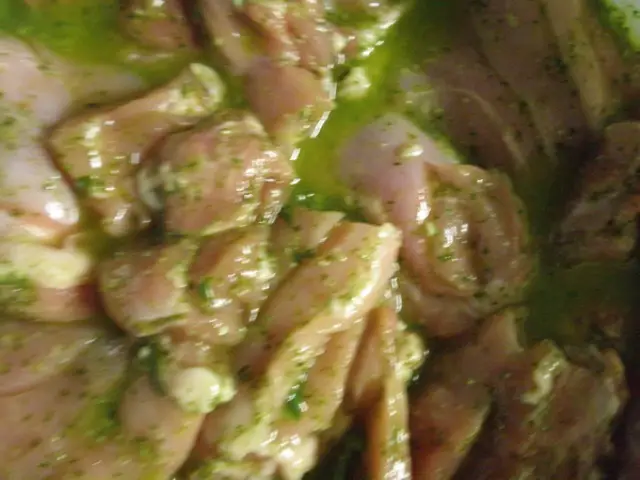
Marinating the Chicken
Just add all the ingredients to a food processor or a Nutri-Bullet. The oil will emulsify with the herbs and garlic and look quite green.
Make sure you score the chicken pieces in different places. This has 2 purposes. Firstly to make sure that the marinade penetrates the chicken evenly, and secondly, the chicken pieces are more evenly cooked. Try to leave the chicken marinating for at least 30 minutes, but a couple of hours is optimum.
Grilled Chicken
The best way to server this grilled chicken is with lettuce, tomato and cucumber on flat bread. Some Yoghurt and Cucumber gives it the finishing touches.
Grilled Chicken
A healthy grilled chicken with the delicate flavours of Basil and Garlic. We cook this grilled chicken on the Webber BBQ, making it a very quick and easy meal without having to light the charcoal used for the traditional Persian BBQ.