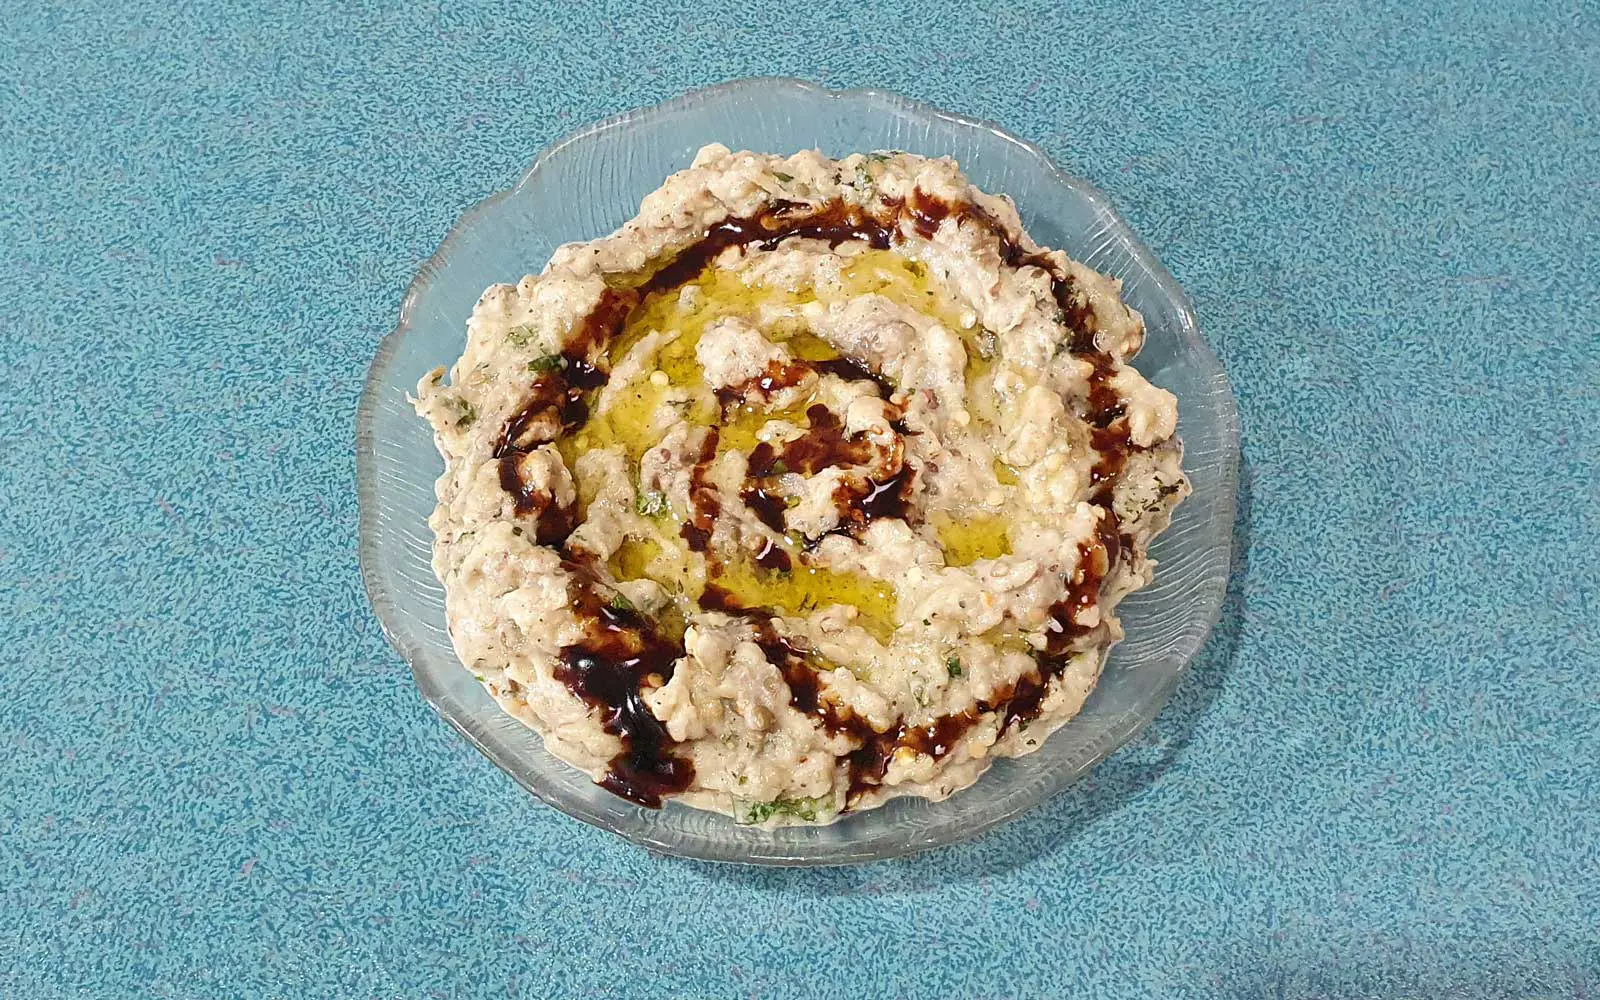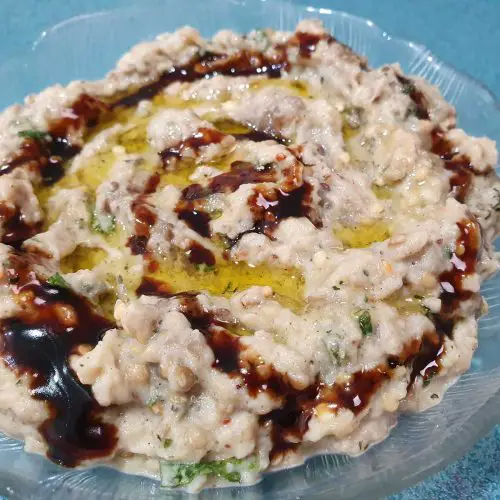
Roasted Eggplant is the perfect base for a vegan dip. Mashed with garlic, and the added tang of pomegranate syrup, this version has different twist of various flavours.
Eggplant or Bademjan is very popular in our house. It can be cooked in many ways, fried, roasted and even boiled. Eggplant used to be very bitter, and I remember the first time we had eggplant as a child it was extremely bitter, it seems that the eggplant we purchase now has the bitterness bred out of it.
Tips to make Borani Bademjan
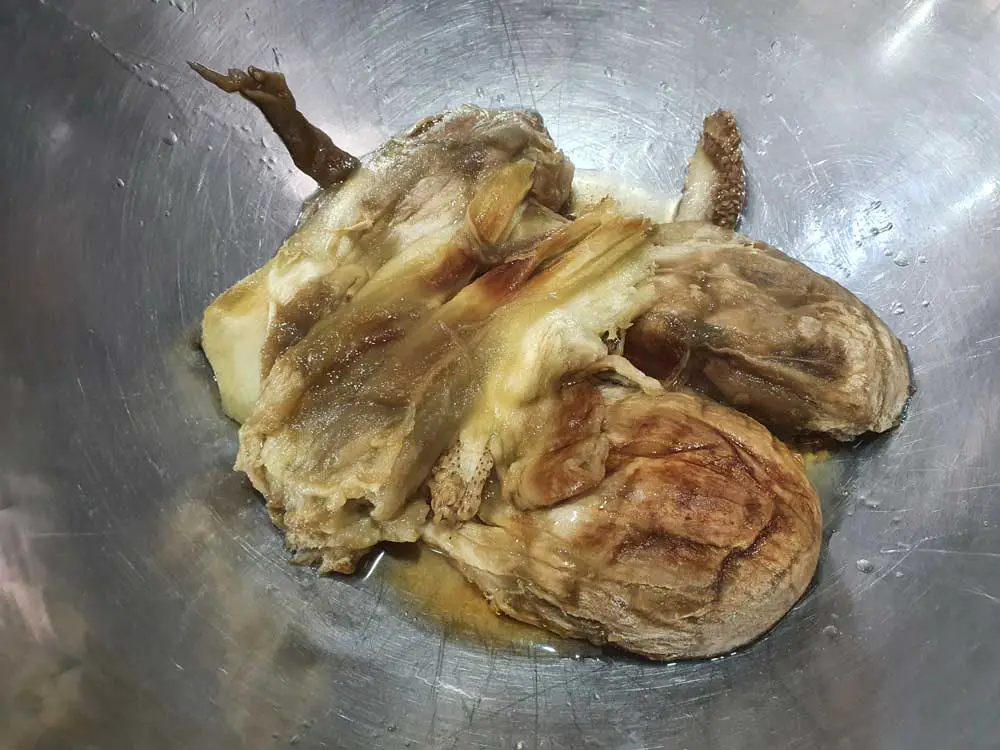
Roasting eggplant is one of the easiest way to cook eggplant, and makes this recipe easy to make. Simply place the whole eggplant on a baking try, and bake for around 1 hour at about 160 deg. You can cook the eggplant in the oven while you are cooking a casserole.
When cooked, the roasted eggplant will completely collapse. Place it in a bowl to slightly cool before peeling the eggplant. Gently slice through the skin and drizzle with lemon juice. The lemon juice will keep the eggplant from turning brown.
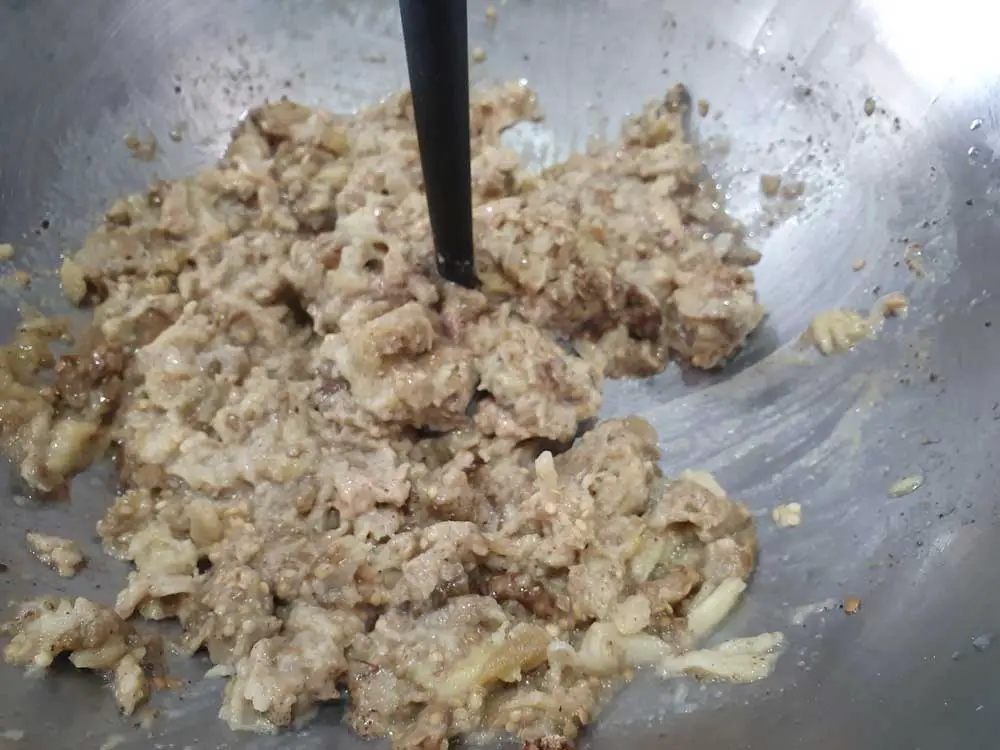
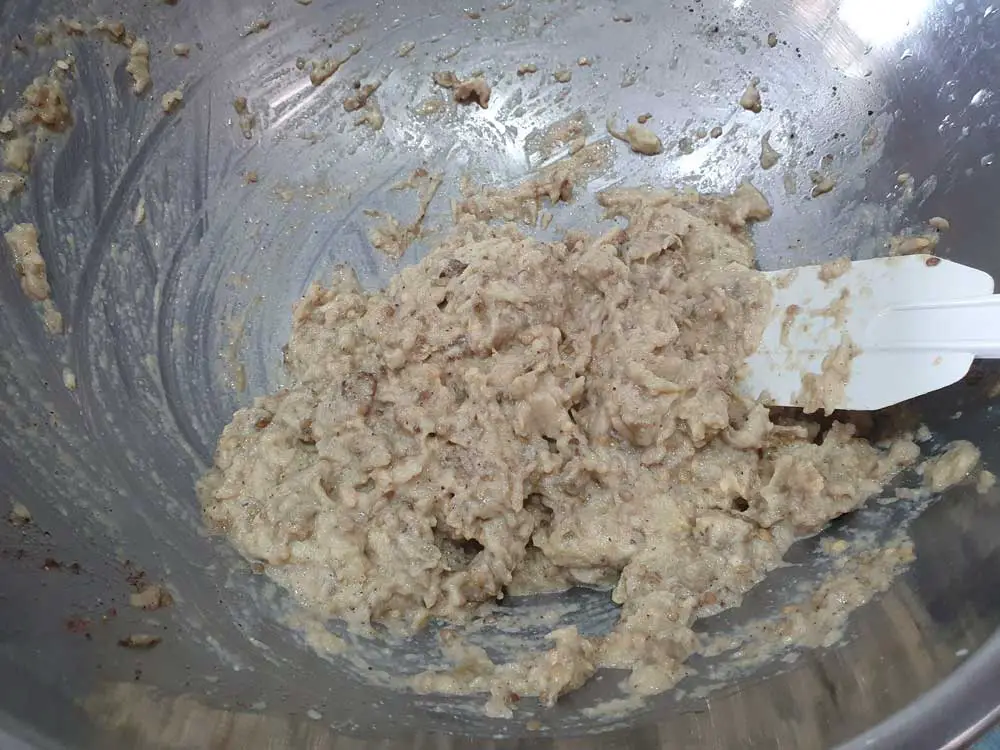
When mashing the ingredients together, be sure to just gently combine the ingredients. Don’t be tempted to add everything to a food processor, as this will release the liquid and make the borani watery.
After the roasted eggplant has been mashed, stir through the remaining ingredients into the eggplant mixture to ensure that everything is well mixed. Garnish with dried mint, pomegranate syrup and olive oil and serve with Pita Bread.
Garnish with dried mint, pomegranate syrup and olive oil and serve with Pita Bread.
Persian Eggplant Dip – Borani Bademjan
A delicious version of baba ganoush made with roasted eggplant, tahini, pomegranate molasses and loads of garlic.
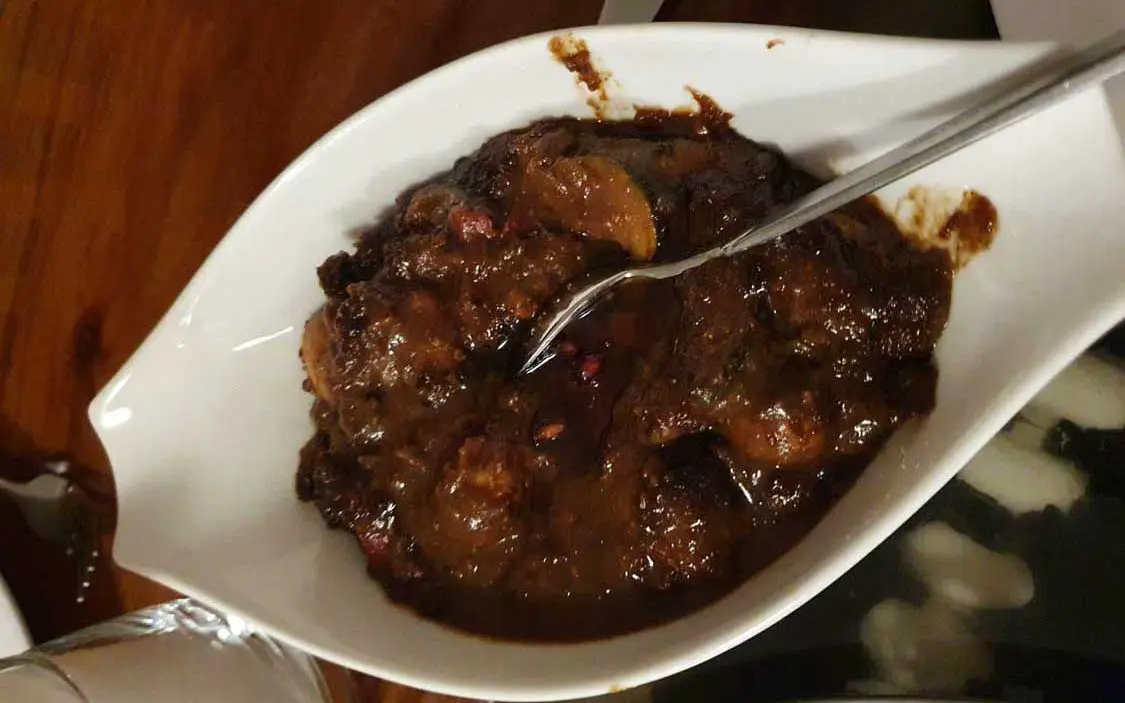
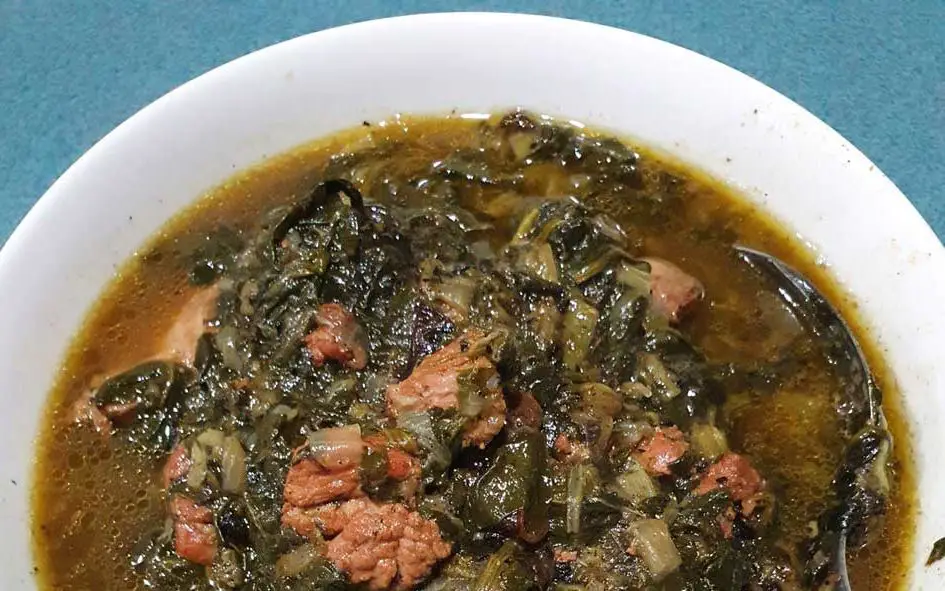
This Fesenjan recipe must be the easiest Persian dish I have discovered. A few minor adaptions as suggested by some friends over time makes this recipe a culmination of knowledge. Only three ingredients, walnut, pomegranate syrup and our secret ingredient. This must be one of our families favorite Persian dish and shows how Persian cooking, with a little patience, can be so easy.
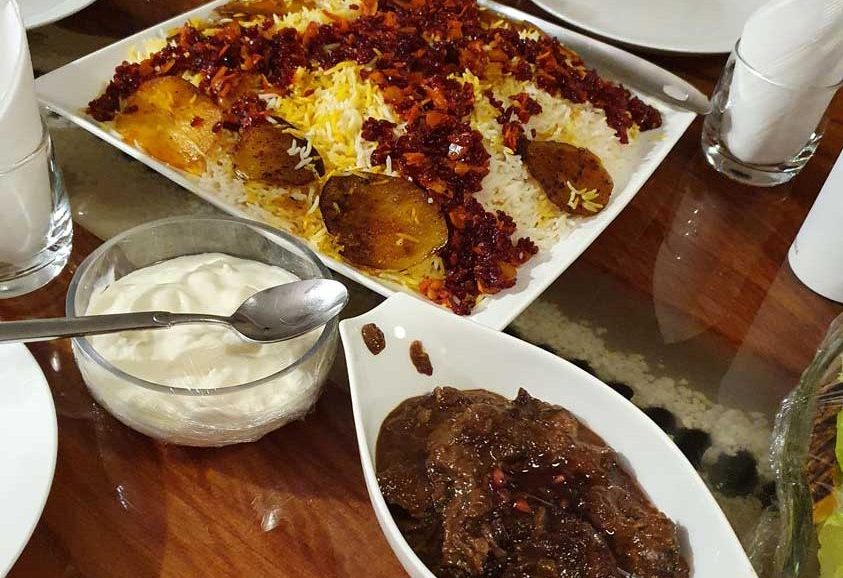
This traditional Persian sauce recipe is equally delicious over chicken or mushrooms. Serve fesenjan with jeweled Persian rice and some lovely thick home-made yogurt on the side. Sprinkle with fresh pomegranate seeds for decoration.
Traditional Fesenjan is extremely rich, but our secret ingredient reduces the richness and adds additional nutrients to the dish (I am a self confessed vegie smuggler).
The main thing to remember when cooking Fesenjan is that walnut oil has a very low smoke point (the point that they will burn) 320 F (160 C), compare this to safflower oil which has a smoke point of between 475 F (245 C) and 500F. (260 C). So you need a low heat for a long time. We usually leave it on 2 on our induction cook top for around 6 – 8 hours to develop this lovely deep rich color letting the flavors fully develop.
Best Fesenjan Sauce Recipe
This recipe for fesenjan, Persian pomegranate and walnut stew, is so easy and is really a set and forget. The sauce can be made in advance and frozen in meal size portions. Simply take a container of this delicious sauce and heat it up with the protein of your choice.
Fesenjan Recipe
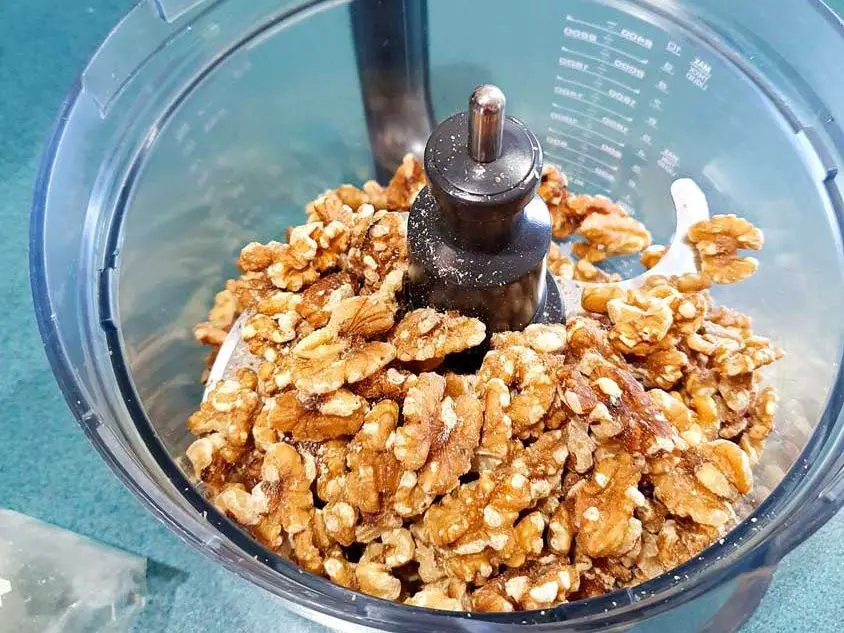
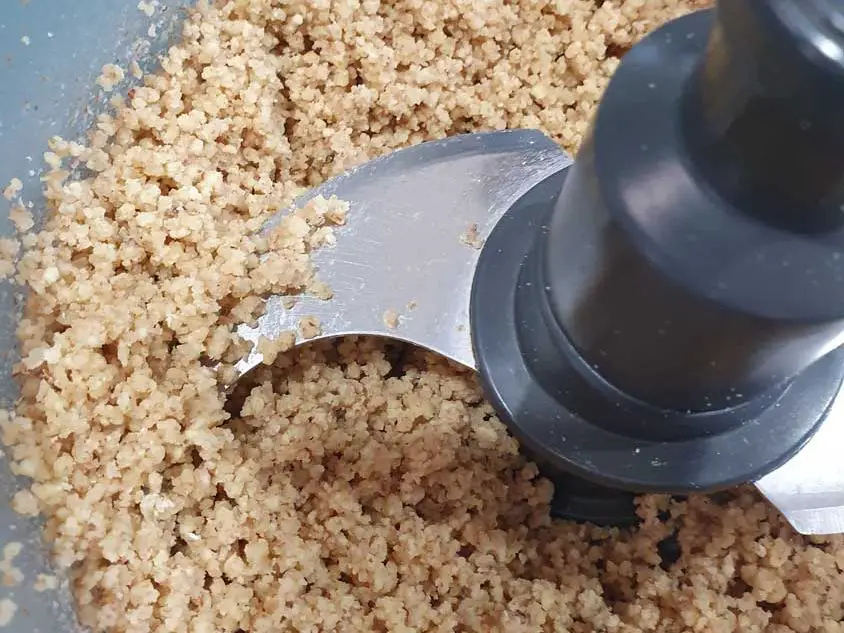
Process the walnuts in a food processor. Using a food processor makes this recipe quite quick. If you don’t have a food processor, then the easiest way to make the ground walnuts is to place then in a zip-lock bag and smash them with the back of a large heavy knife, or roll then with a heavy rolling pin.
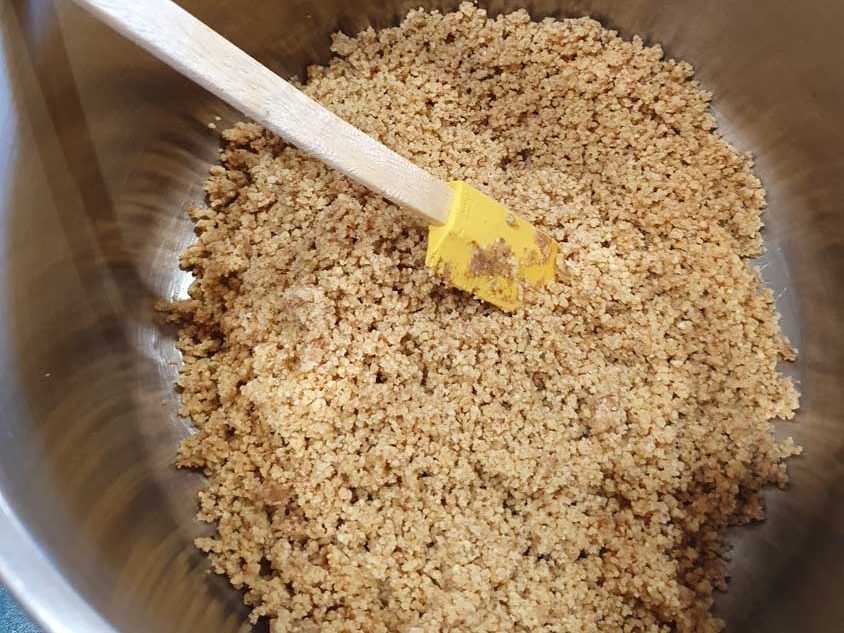
You need to make sure that you don’t over process the nuts. They still need to be of a granular consistency. Over processing the walnuts will form a paste, and won’t give the same result.
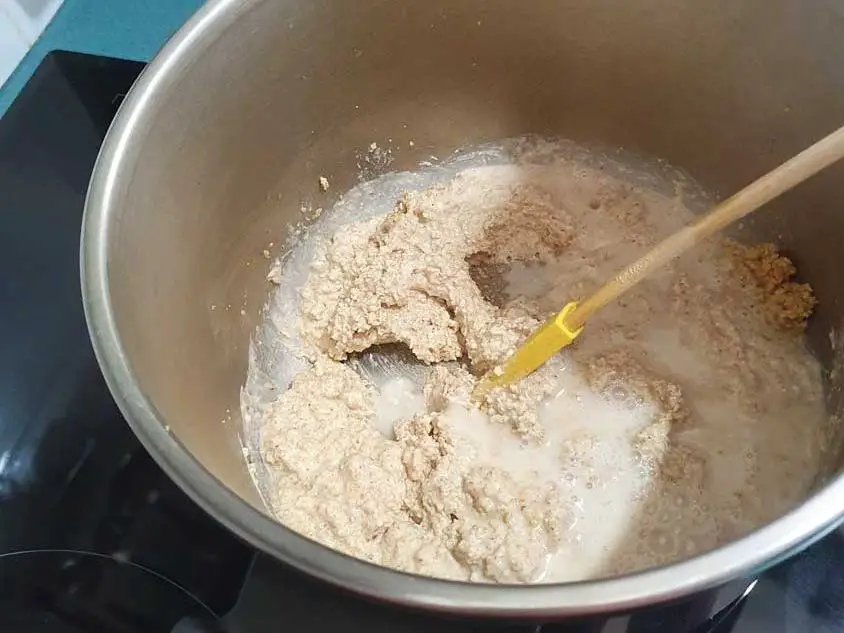
Add the ground walnuts to a heavy based saucepan on low heat, and gently fry the walnuts. The oil will start to come out of the ground toasted walnuts and the walnut paste will start to change color.
When the ground walnuts mixture starts to turn white, then you can slowly start adding water. Mixing as you proceed. You will need enough water to create a thin watery soup consistency. Don’t be too concerned if the walnut sauce is a bit too watery as this will reduce over the length of the cooking.
Persian Pomegranate Molasses
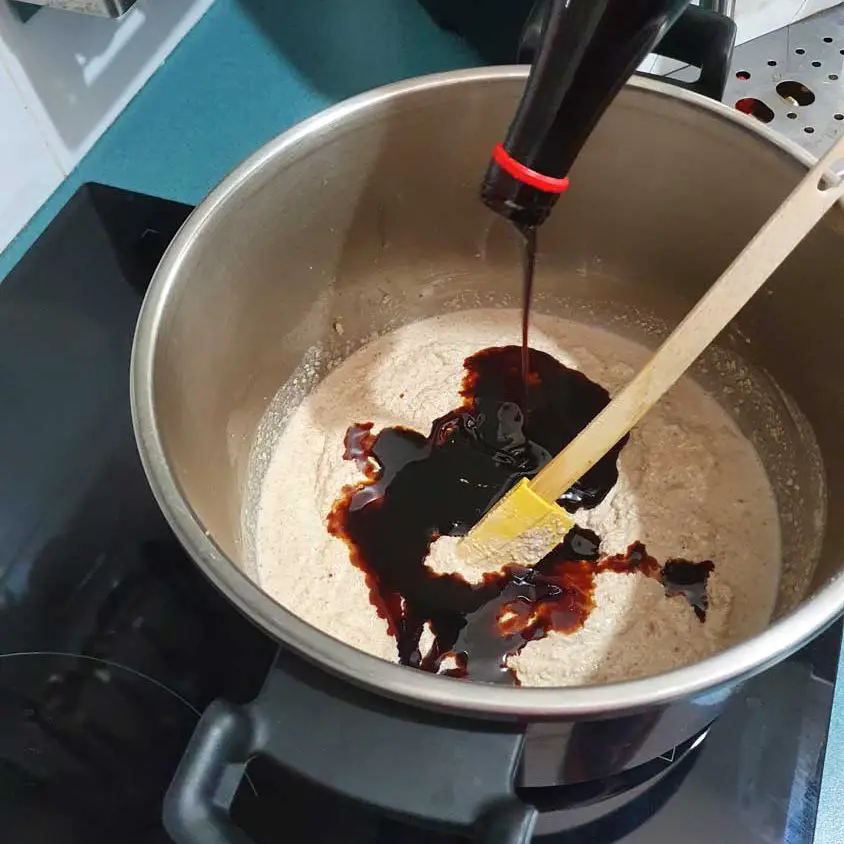
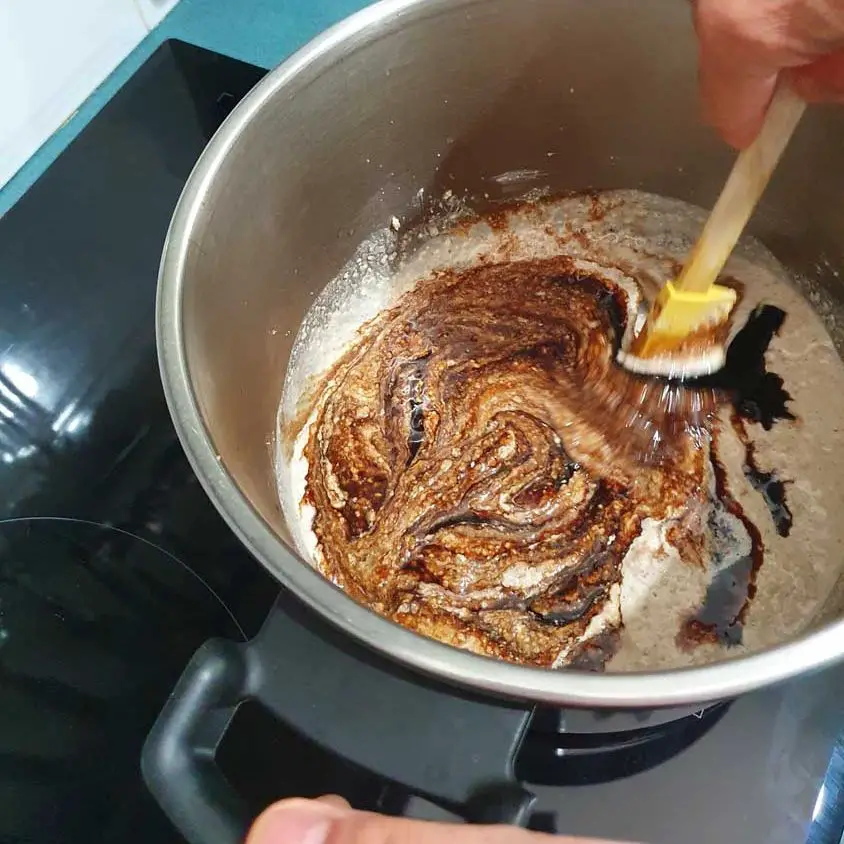
Add the pomegranate molasses (Rob-e Anar) to the ground walnuts paste and stir through thoroughly.
From scouring middle eastern grocery stores where ever I go I have noticed that not all pomegranate syrups (Rob-e Anar) are the same. Some are sweet and some are quite sour. Once you use a specific brand, then you will get to adjust the recipe according to taste.
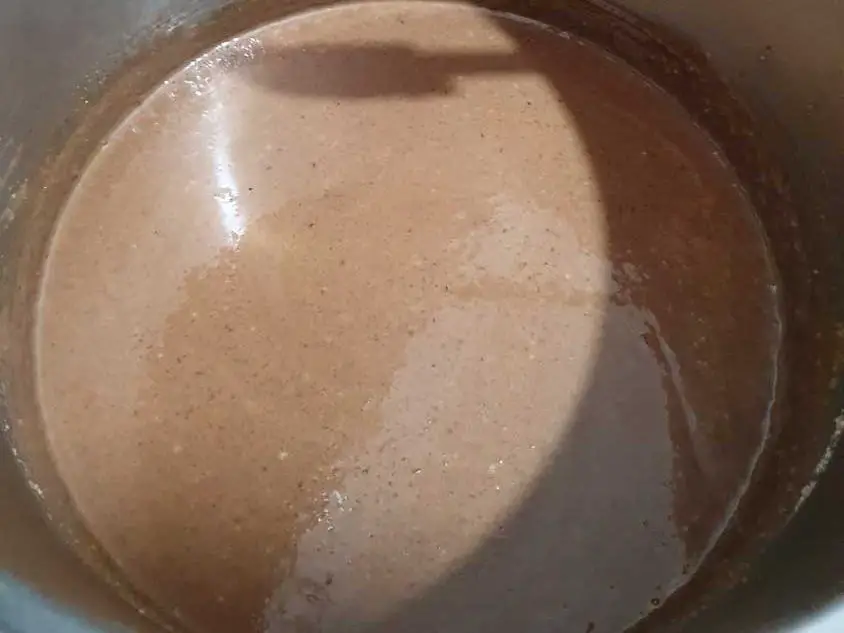
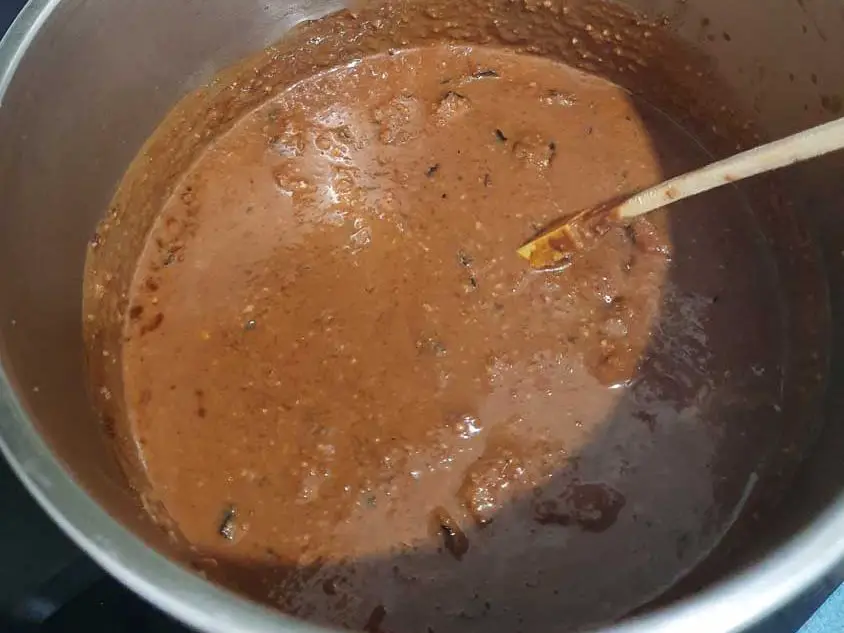
The fesenjan sauce should be a light golder brown, and quite watery at this stage. Reduce the heat and simmer for about 3-4 hours. That all the hard work done, and we pass the cooking over to father time. Stir occasionally and add more water if needed.
My Secret Ingredient for Persian Pomegranate and Walnut Sauce
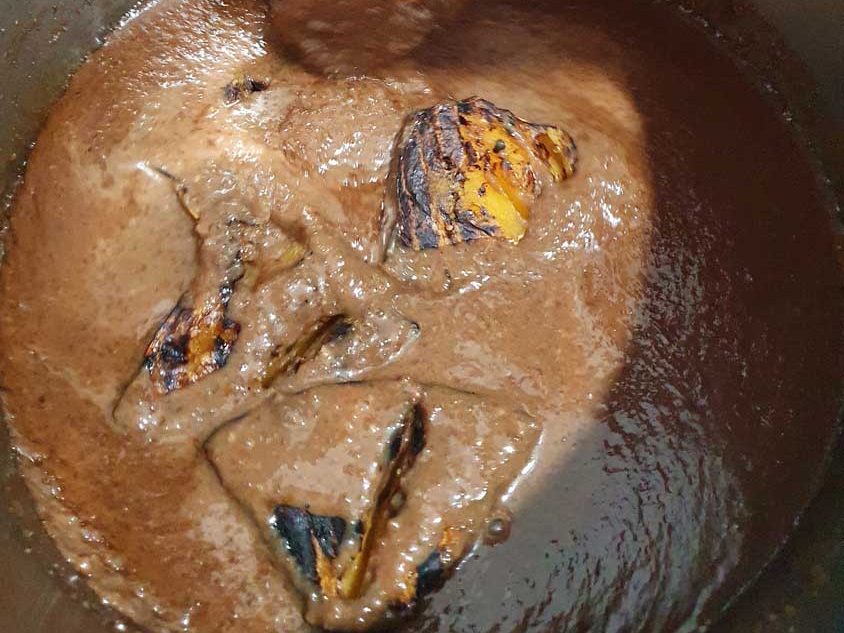
Now for the secret ingredient. A dear Friend Izzat, makes amazing fesenjan, and when I asked her what was different about her fesenjan recipe, she looked at me with a twinkle in her eye and said “Kadu”. Kadu is pumpkin in farsi, and the addition of pumpkin to fesenjan adds a completely different dimension to this traditional dish.
We usually use grilled pumpkin. Another favorite recipe is a pumpkin, rocket and spinach salad, so we usually grill the entire pumpkin at a time and leave it in the fridge for other recipes.
Stir the pumpkin through and continue cooking on a low heat, maybe another 2 hours, depending on your cook top. Stirring occasionally to prevent the sauce from sticking to the bottom of the pot.
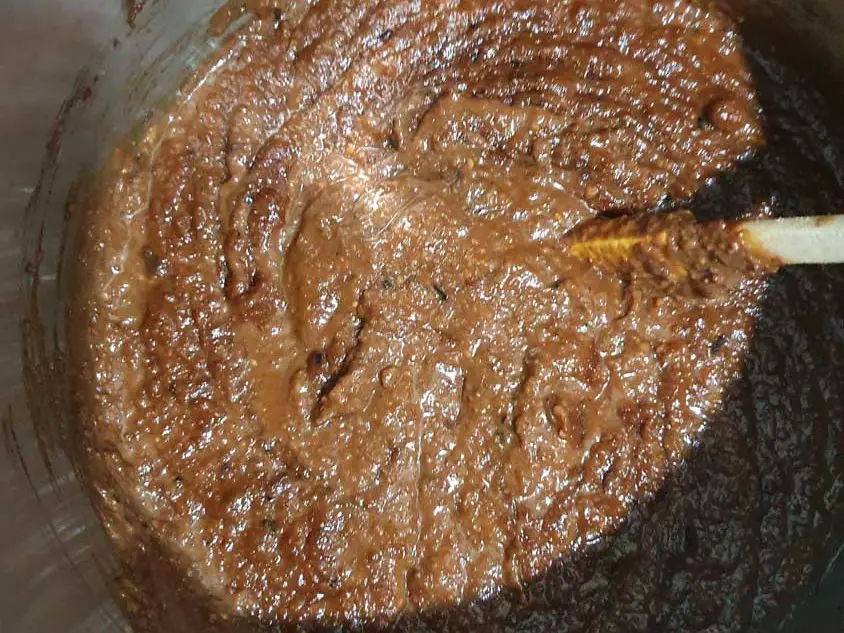
The sauce will thicken and turn into a beautiful rich brown. At this stage, taste it and either add some sugar of lemon juice, depending on your taste and the flavor of the pomegranate molasses you use.
Fesenjan Chicken Stew
This classic Persian fesenjan recipe can be made with chicken. Just fry some onions and sear the chicken breast or thighs in olive oil until mostly cooked. Add the chicken to the sauce, cover, and gently cook till the chicken is cooked thoroughly and covered in sauce.
Vegan Fesenjan with Mushrooms
To create a vegan fesenjan dish, gently saute an onion and button mushrooms. Stir through a generous amount of fesenjan sauce and heat through.
Persian Fesenjan Sauce Recipe
A wonderful rich khorsh of Walnut and Pomegranate molasses. You can use this khoresh with chicken or mushrooms.
Process the Walnuts in a food processor till fairly fine
Add to a heavy frying pan and gently stir over a low to medium heat
As the mixture changes color and releases oil, slowly add in water to cover
Simmer on low for about 4 hours
Add cooked pumpkin
Add sugar or lemon juice to taste (usually not needed, depending on the pomegranate molasses)
Continue to cook on low until a rich brown color has developed and the sauce of thick enough to coat the back of a spoon
Notes
This delicious dish of walnut pomegranate can be served over cooked chicken thigh fillets or sauteed mushrooms.A useful recipe when mastering Persian cuisine.
Pomegranate molasses (Rob-e Anar) is made by reducing pomegranate juice into a thick sauce or molasses. It is becoming a lot more available in the west, making it easier to find pomegranate molasses. I used to scour the continental grocery stores for this delectable sauce, but, now in some cities in Australia you can even buy it in the middle eastern section of Woolworths.
The bought Rob-e Anar varies in sweetness and sourness, so you may need to add either sugar or lemon juice to this recipe, depending on your taste.
You can make your own pomegranate molasses if you have a supply of fresh pomegranate juice. The Pomegranate Molasses Recipe is simple. Just add to a saucepan and simmer. Add sugar of you like it sweeter. Easy to make, but again, takes time.
Ash Reshteh would have to be one of my favorite Persian recipes. A dear friend of mine, Sedigeh, showed me how to make this recipe a number of years ago, and I have modified it to make it a quick and easy recipe.
This version uses cans or chick peas, kidney beans and beetroot and frozen spinach. This means that we always have the ingredients on hand.
Follow the steps for this quick Ash Reshteh recipe.
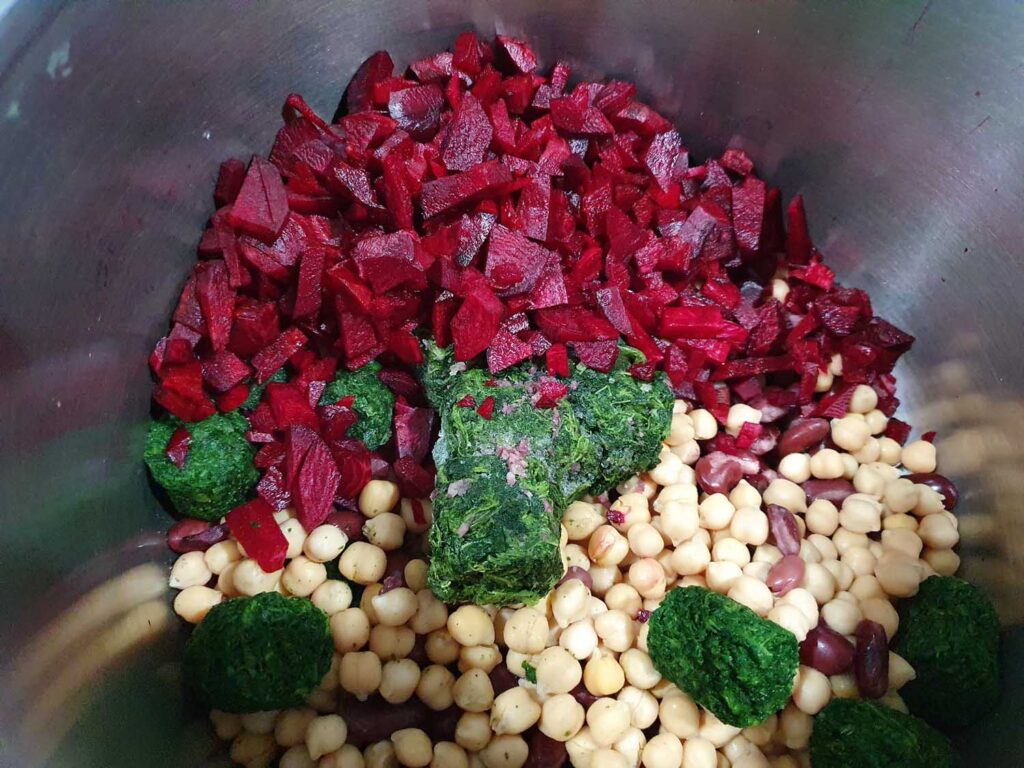
Add 2 cans of chick peas and 2 cans of kidney beans to a large saucepan, with a can of diced beetroot and a packet of frozen spinach.
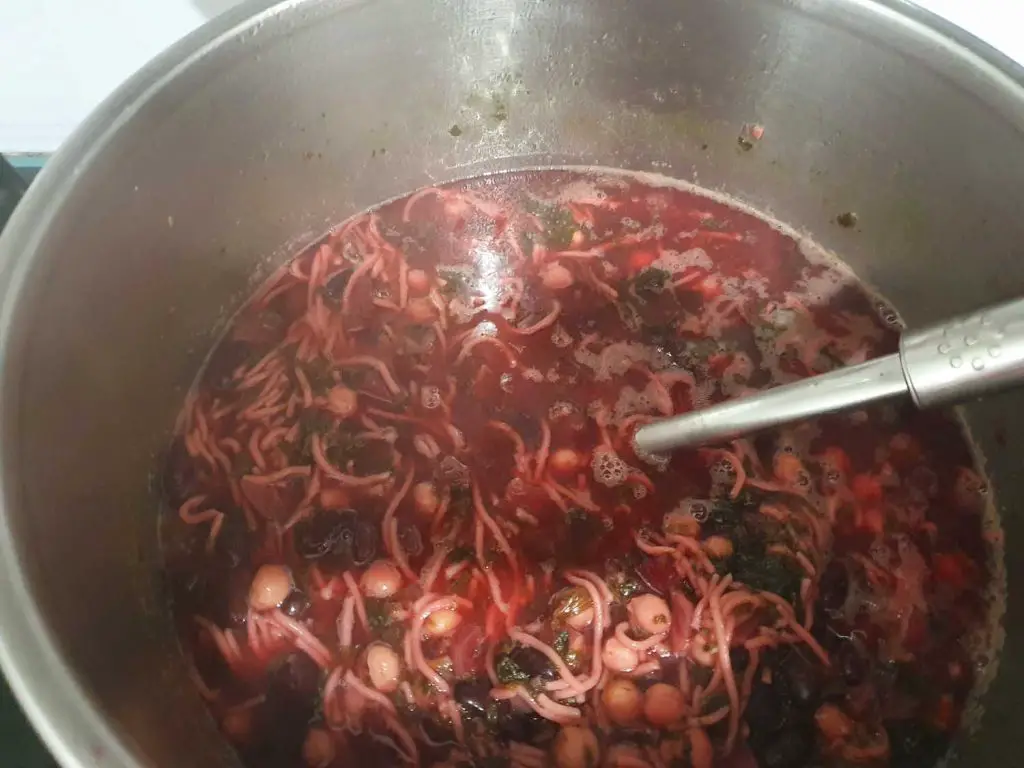
Add half a packet of vermicelli noodles and enough water to well cover the ingredients, and bring to the boil. You could also use vegetable stock instead of water for a more intense flavor. You can buy special Persian soup noodles, but I use the Italian style vermicelli wheat noodles.
Turn down the temperature and simmer for around 20 minutes. Add salt to taste at this stage. I have indicated 2 tsp in the ingredients, but you may wish to add more, depending on your taste. If you used vegetable stock you may need less salt.
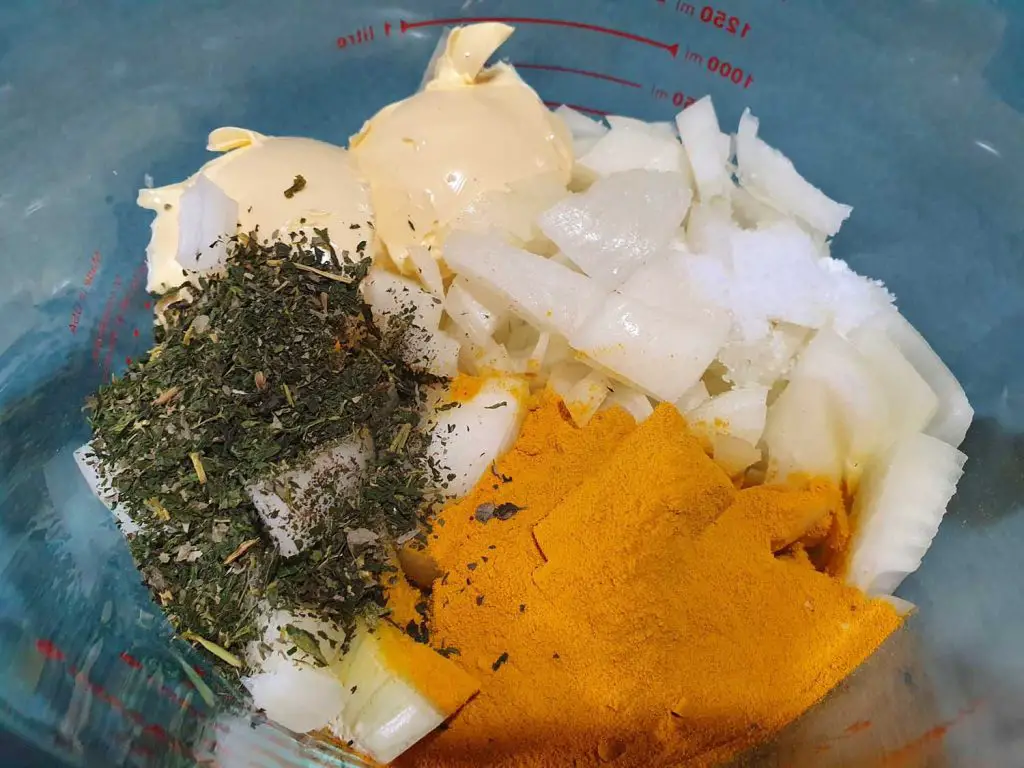
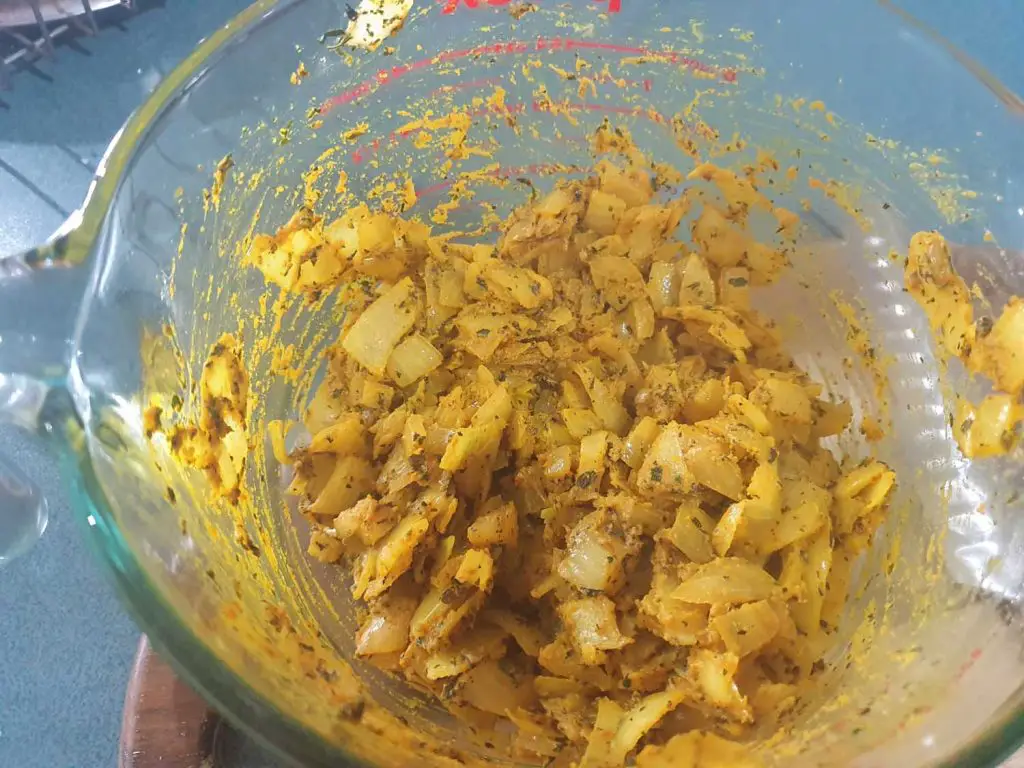
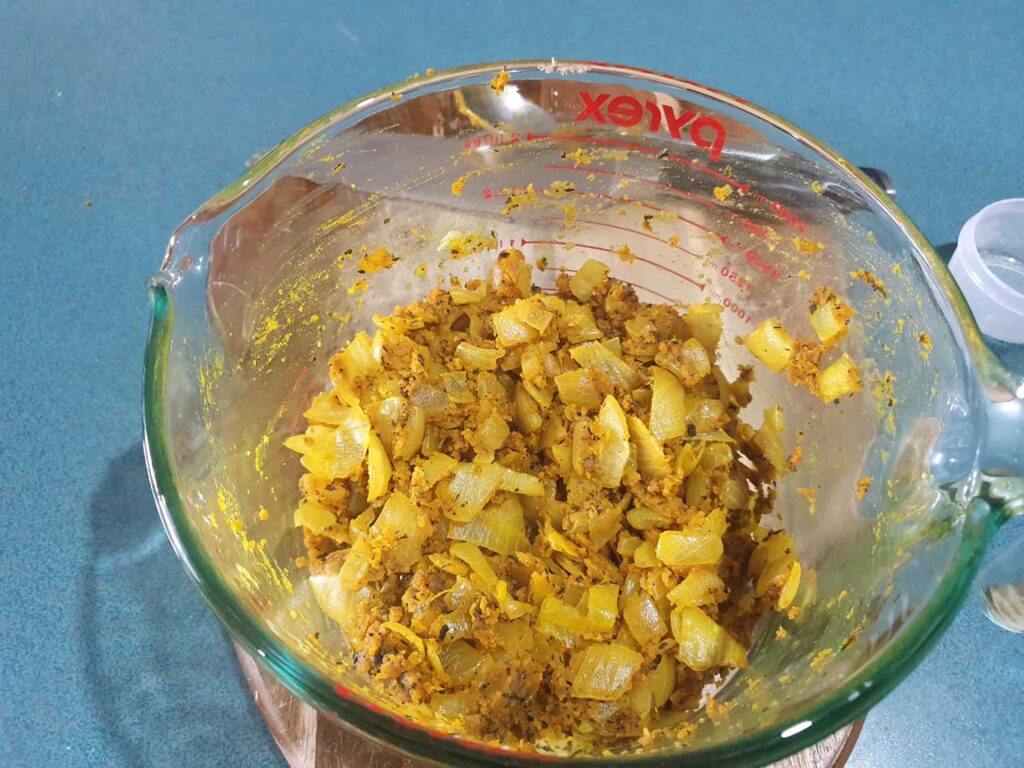
While the Ash is cooking, chop 1 large onion, and add it to a microwave proof jug with the butter, dried mint and turmeric.
Microwave on medium heat until the onion is transparent, around 3 minutes, stirring after each minute.
Stir through the flour, and microwave again on medium heat for 3 minutes, mixing well between each minute.
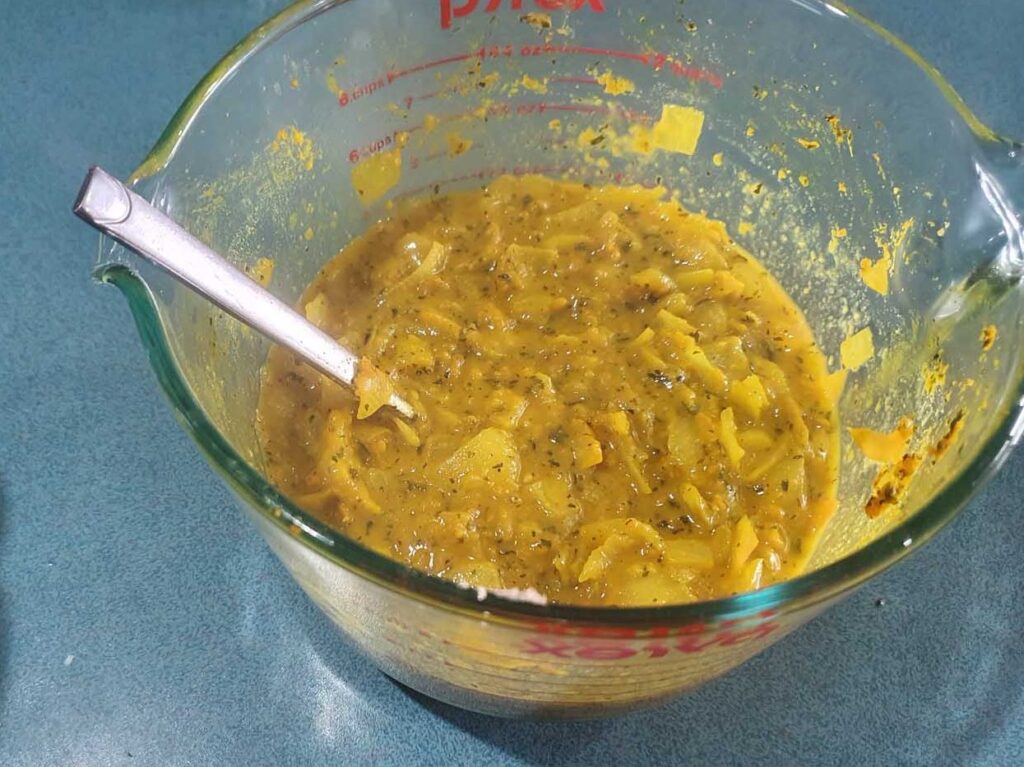
Add boiling water to the microwave jug and stir well until you have a thick gravy like constancy.
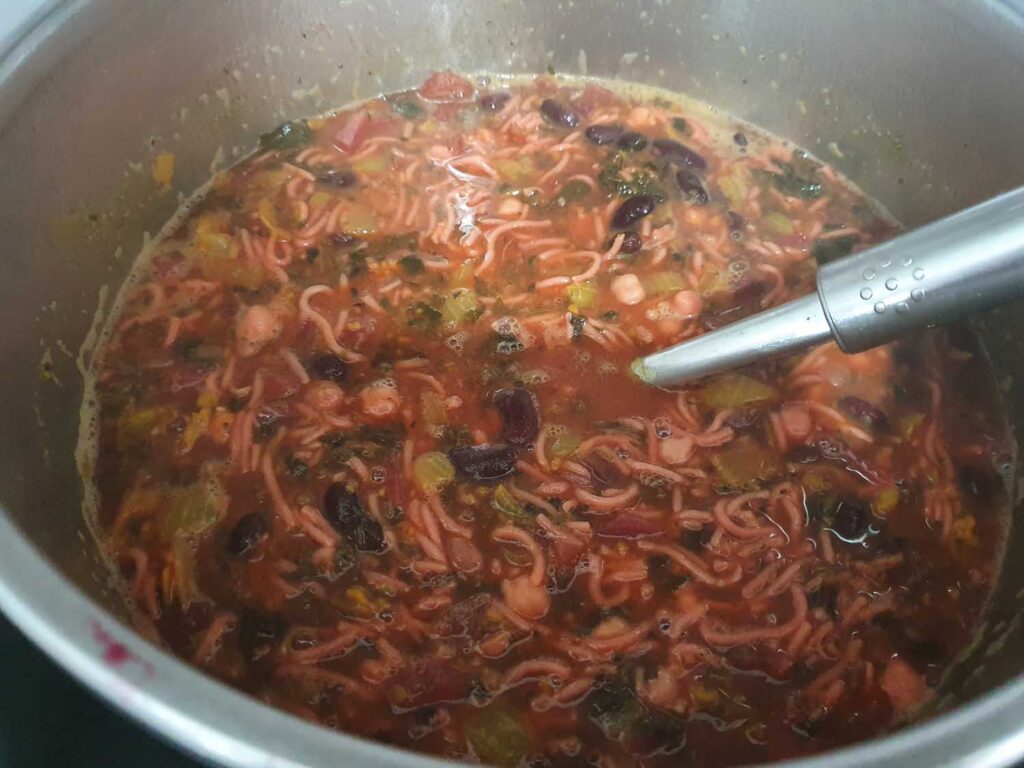
Pour into the simmering Ash Reshteh, and stir through well. It will thicken as it continues to cook.
Serving Suggestions
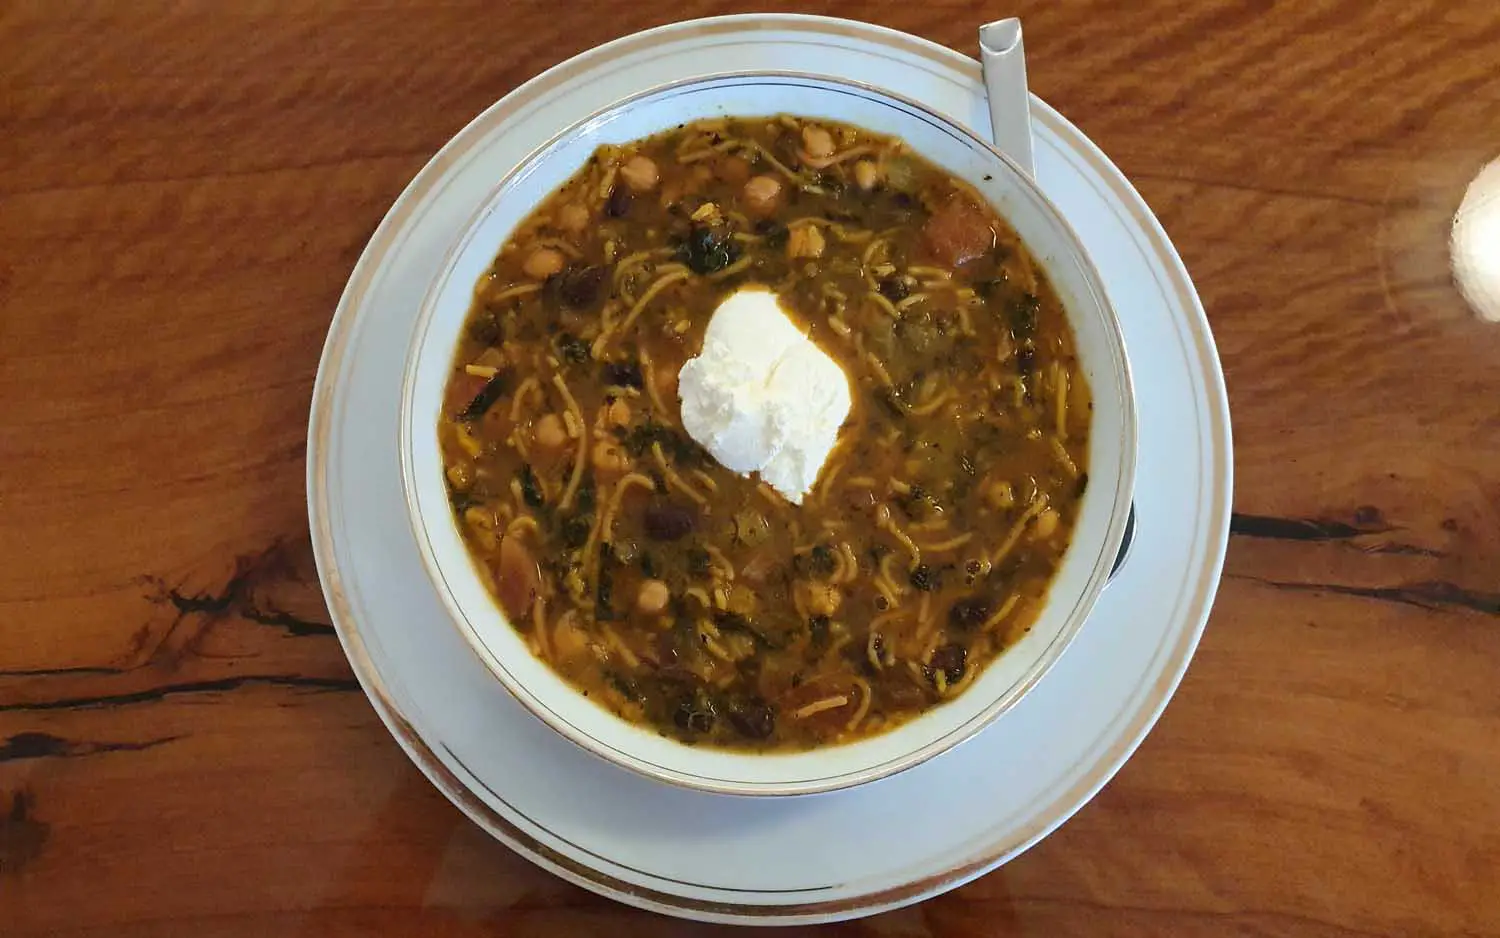
Traditionally this wholesome soup is served with Kashk, but we always add a dollop of our wonderfully thick homemade yogurt to finish it off. You could also use sour cream as a replacement for the kashk, but we always have yogurt in the fridge.
Top with golden brown crispy fried onions for a more traditional finish.
Ash Reshteh
Ash Reshteh is a hearty fulfilling soup, a firm favorite in many Persian households. This recipe is a quick and easy version suitable for the Western Kitchen, using readily available ingredients.
Drain the kidney beans and chick peas and place in a large saucepan
Drain the beetroot, rinsing off any excess liquid and roughly dice the beetroot, add to the saucepan with the vermicelli spaghetti.
Add the frozen spinach to the saucepan.
Add enough water to well cover, (about 2- 3 liters) and bring to boil. Turn down and simmer until the noodles are cooked.
While the noodles are cooking, place the butter, the diced onion, turmeric and mint in a microwave safe bowl and microwave on high for 2 – 3 minutes, stirring after each minute.
Stir in the flour and microwave for 2 – 3 minutes, stirring well after each minute.
Add about a cup of boiling water to the butter flour mixture and stir well, ensuring there are no lumps, add another cup of boiling water and stir well again.
Mix into the soup and continue to simmer for about 5 – 10 minutes until the soup thickens.
Serve with a dollop of prepared kashk or thick yogurt
Notes
Kashk or natural yogurt is often added at the end when serving to enhance the flavor. Although some prefer a dash of vinegar stirred through when serving.If you wish to make this as a vegan dish, replace the butter with olive oil, and omit the yogurt, or use a vegan yogurt for a different taste.
Kashk is a dairy product used in a lot of Persian recipes. It is a version of the cultured buttermilk you can buy in the supermarket. You can replace this with either plain Greek yogurt or sour cream.
History of Ash Reshteh
Ash Reshteh has been made in Iranian household for many years, and is a traditional winter hearty soup. The introduction of the noodle (reshteh) was recorded to have been added around 500AD making more closely resemble the Ash Reshteh we know and love today.
The combination of fresh herbs, and different pulses (dried beans and peas) makes each households version of Ash Resteh unique. Our version uses spinach and mint with kidney beans and chick peas, although I do add in the radish tops or beetroot tops if I have them in the fridge when I make this recipe.
Read more about the history of Ash Reshteh on wikipedia.
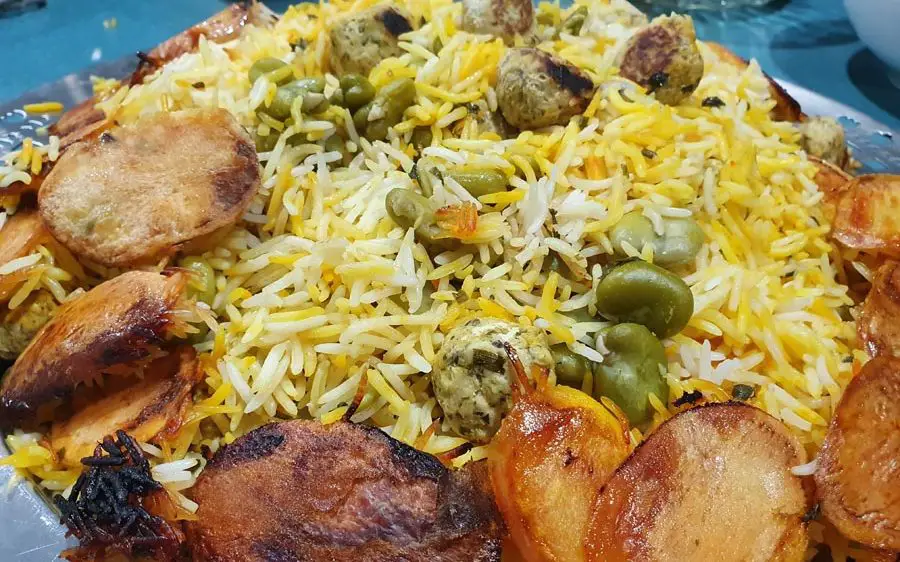
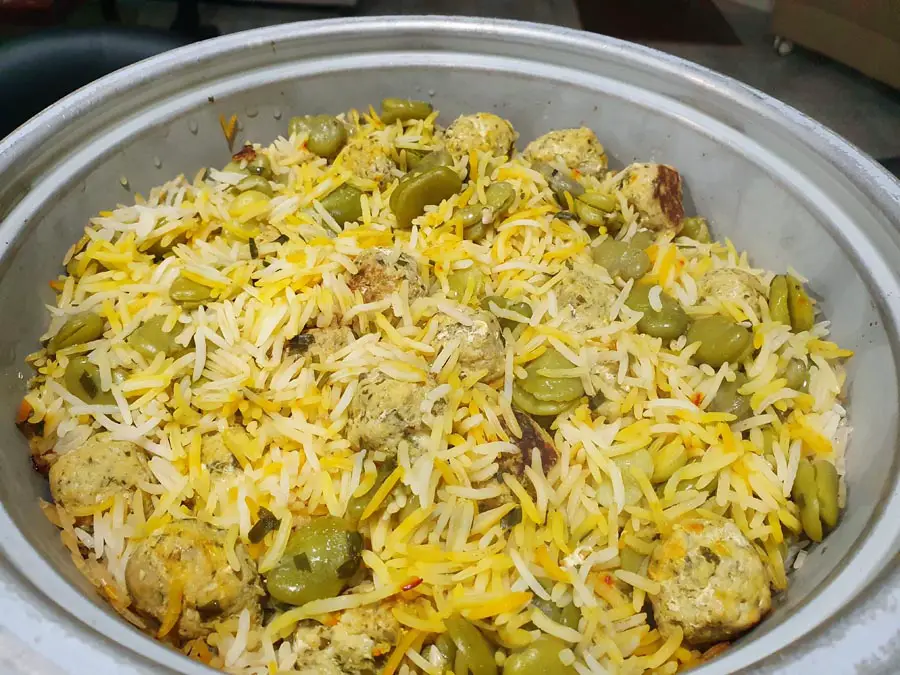
This recipe is something a little different. Layers of rice, broad beans, chopped garlic chives and small chicken meatballs, with tarragon.
A friend recently gave me a huge bunch of fresh tarragon which inspired this recipe. Tarragon and chicken go together really well, and Baghali Polo is a firm favorite in our family. Garlic chives grows really well in our garden and lends itself well to the this layer Persian rice.
You can replace the chicken mince for turkey mince for a variations, and it works equally well with white basmati rice as well as yellow basmati rice. We prefer the yellow basmati rice for our default rice, and tend to use the white basmati rice when we have guests.
Things to note when cooking Chicken Meatballs with Broad beans and Rice
The Chicken Meatballs
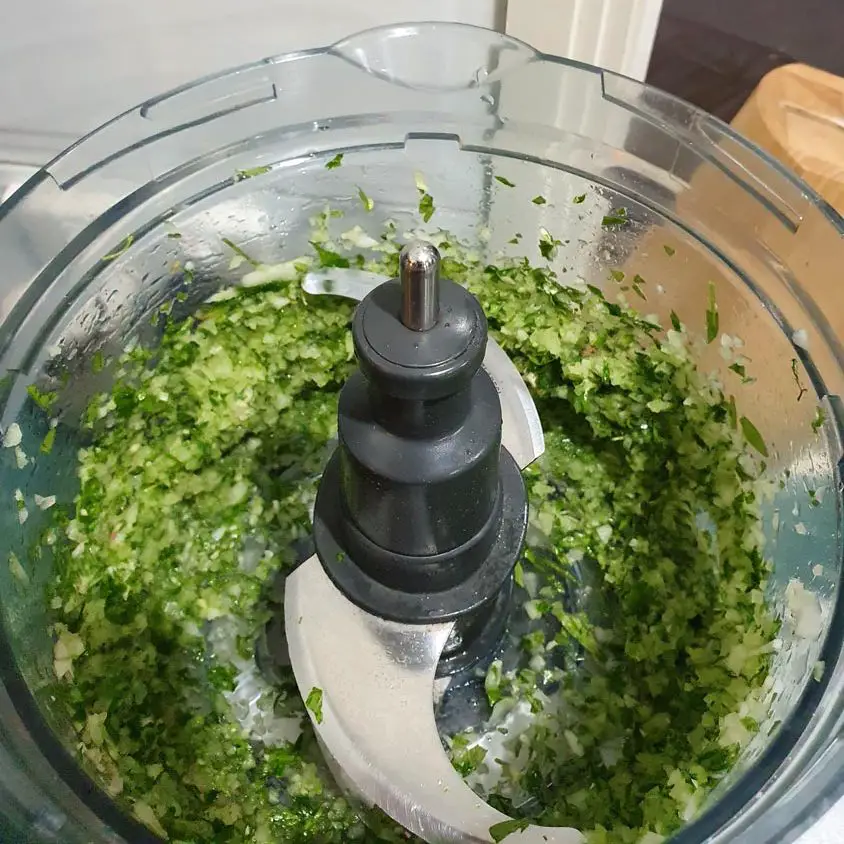
Using a food processor is so much easier for the meatballs. Process the onions, tarragon, parsley, salt pepper, turmeric and cumin together before adding the chicken mince.
Add in the chicken mince and gently pulse the mixture together until well mixed. The form them into small balls, these need to be quite small, about large marble. The smaller the better.
When frying the meat balls, heat some oil in a no stick frying pan. I always use Olive Oil. When the pan is hot, gently add in the check meatballs. Leave them to cook for a few minutes, than gently turn them. When the outside of the meatballs are browned, them add a about 1/2 cup water, and put on the lid of the frying pan while preparing the rice.
Preparing the Rice
Cook the rice as you would for a normal Persian Polo rice. You can see the instructions on how to do this on the Polo rice recipe.
Putting it all together
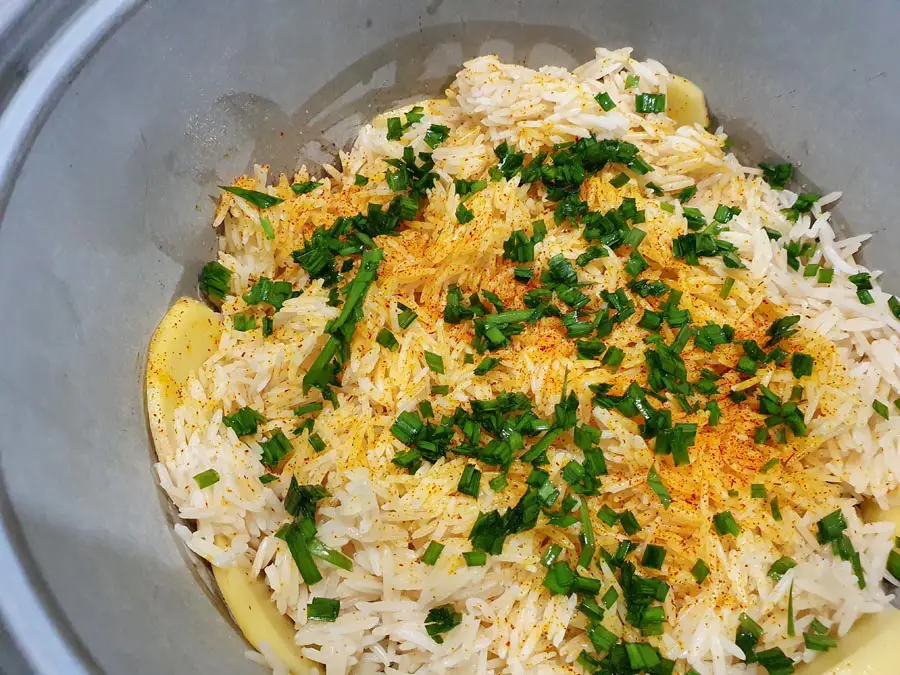
Start with a liberal layer of oil in the bottom of you rice cooker, and lay out slices of potato around the bottom of the pan.
Carefully add a layer of rice and sprinkle with powdered saffron and chopped fresh garlic chives.
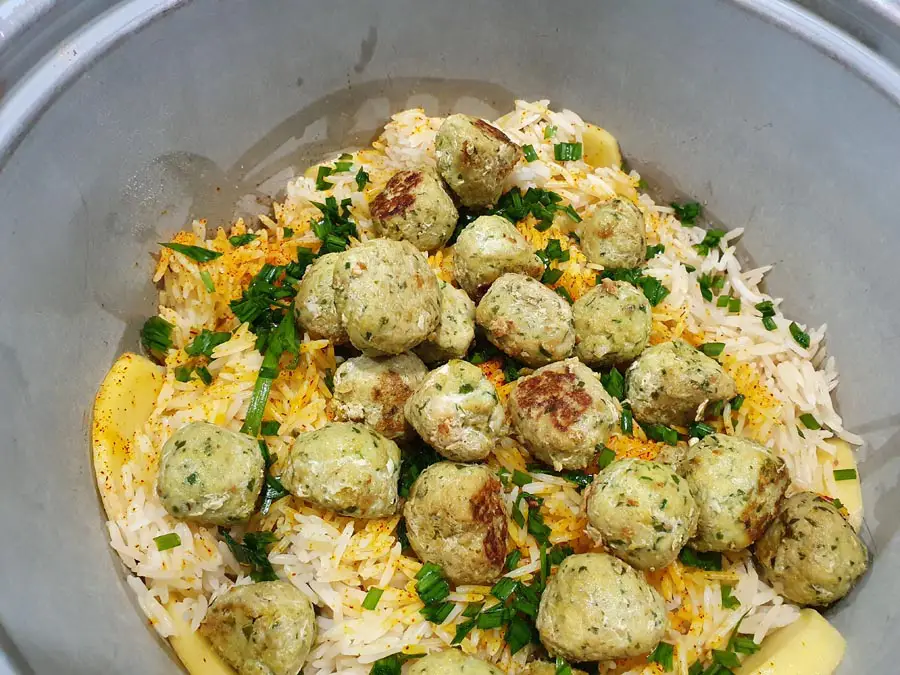
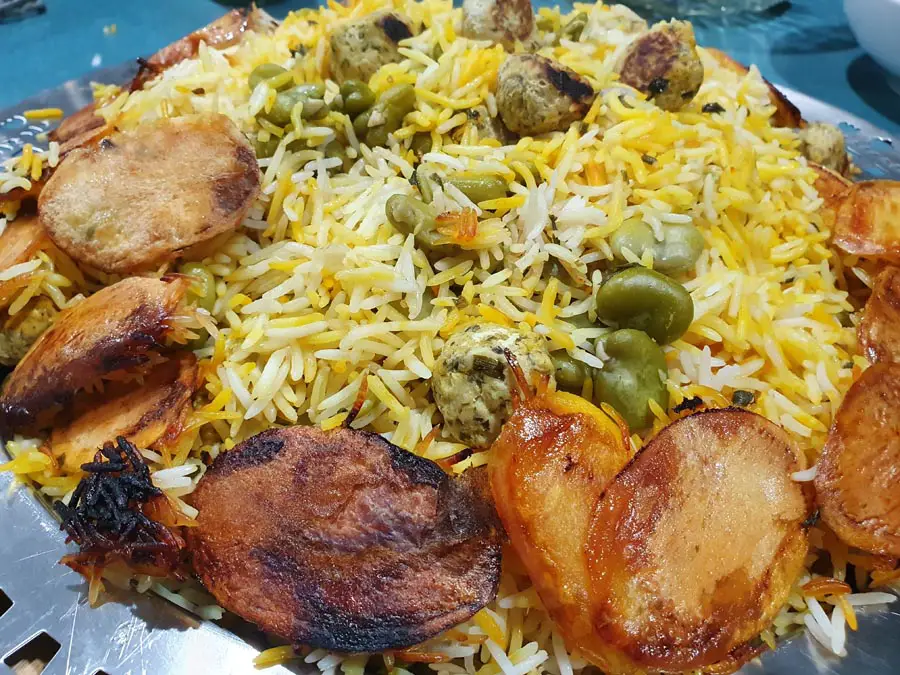
Layer the chicken meatballs and the broad beans, and repeat until all the rice is used. Be careful not to squash it down, and the layers need to be loosely added.
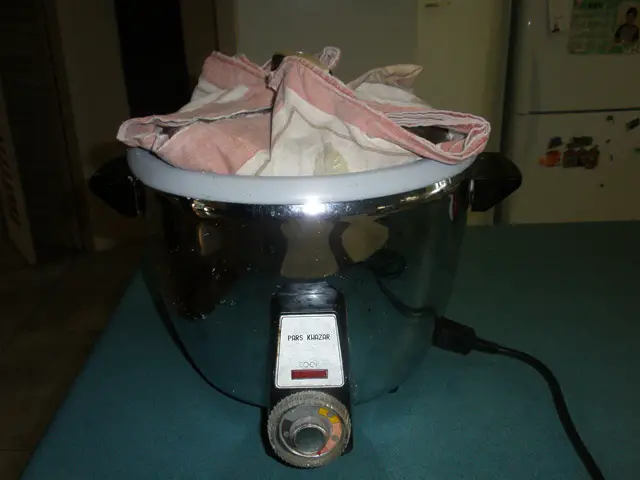
The next step is to wrap a tea towel around the lid of the rice cooker and fit firmly. The tea towel retains the moisture and is an important requirement to form good crispy Tahdig.
Turn out onto a serving dish, and enjoy with a side of thickened yogurt and shirazi salad.
Morgh-e-Kofta Baghali Polo – Chicken Meatballs with Broad beans and Rice
An original layered Persian polo rice with chicken meatballs and broad beans. The garlic chives add the green freshness of fresh herbs.
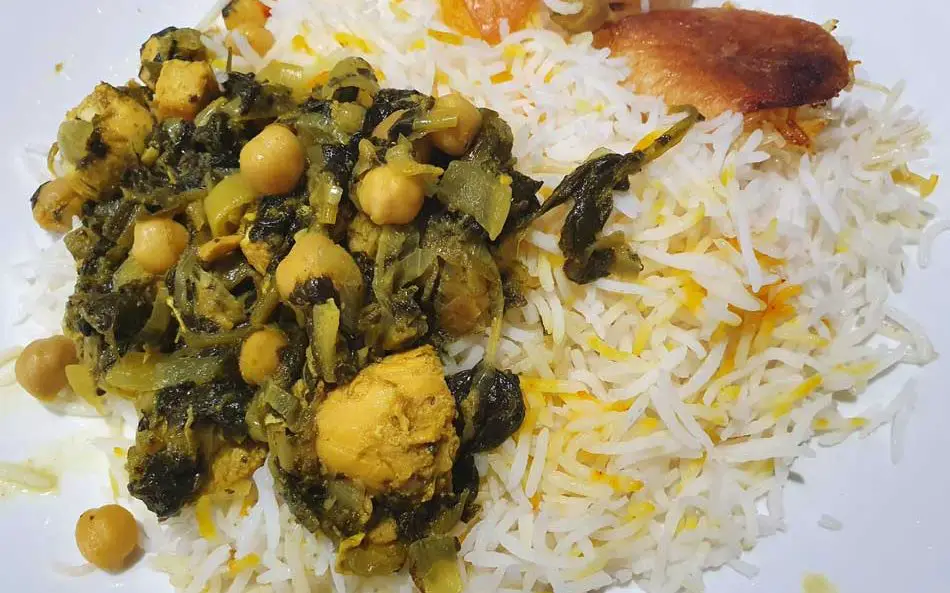
This recipe for Khoresh Morgh-e Esfenaj is a fairly recent addition to our family meals, with my husband finding a recipe when looking online for ideas for dinner one night. We have, of course, adapted it to make it a quick and easy meal. You can make it your own by using different sabzi’s or different citrus juices and create an entirely different combination of tastes.
Things to note when making Khoresh Morgh-e Esfanaj – Chicken Stew with Spinach
I always like to prepare all the ingredients before I start to cook. Dice the onion and chicken, prepare and chop the sabzi and measure out the spices.
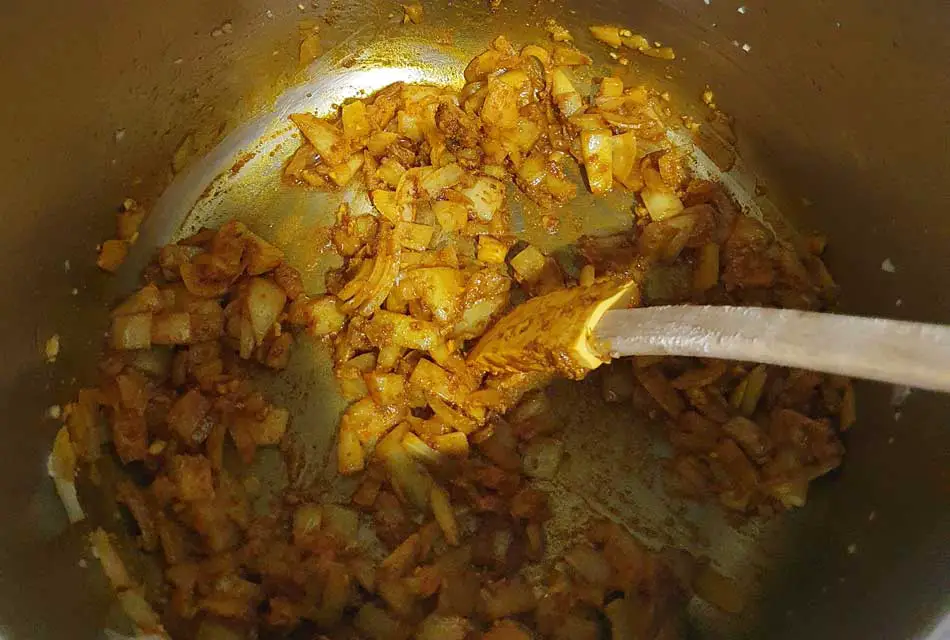
Be sure to use enough oil when frying spices with the onions. The spices flavor develops as they are heated and mixed with the oil. Be careful, as at this stage the mixture can easily burn.
I will admit that I am a lazy cook, so I do as much as I can to make cooking easy. In this recipe I used tinned chick peas, frozen spinach, and also frozen leek, that I had prepared when a neighbor popped over with some fresh leeks from his garden. The coriander and mint were fresh from our garden, but could be easily be replaced with dried coriander and mint, even dried leek which is readily available from a good middle eastern grocer.
While to dish is simmering, I start the polo rice, and by the time the rice is ready, the Khoresh Morgh-e Esfanaj has developed into a tantilising, healthy dish ready to eat. Serve the Khoresht with white rice, a simple mixed leaf salad and (of course) thick natural yogurt on the side.
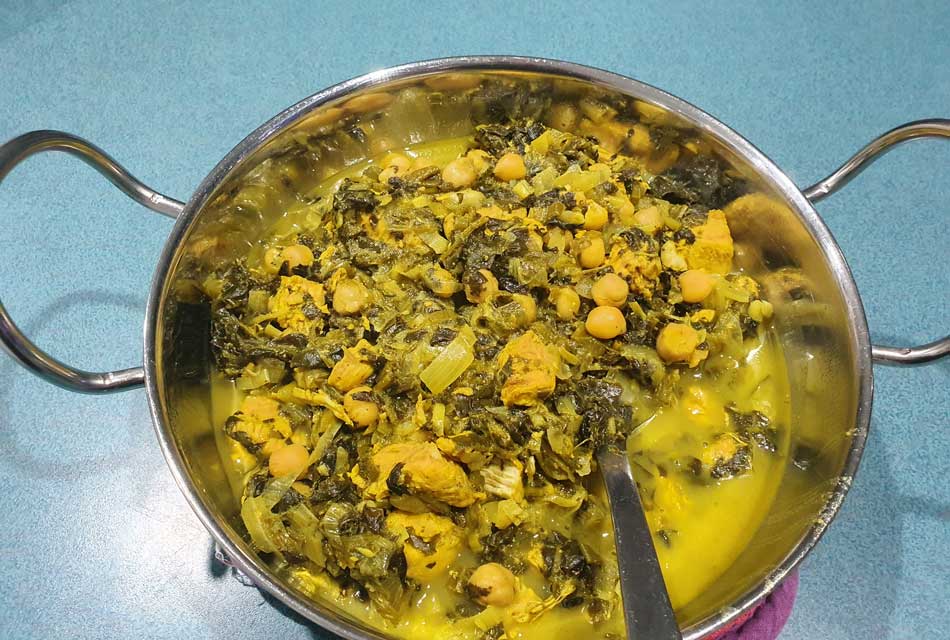
This recipe for Khoresh Morgh-e Esfenaj serves 12, and works well if you pack and freeze this into meal sized portions. Always ready for a healthy meal on a busy night. Simply pull from the freezer, microwave to heat and serve with rice or flat bread.
Khoresh Morgh-e Esfanaj – Chicken Stew with Spinach
This recipe for Khoresh Morgh-e Esfenaj is a fairly recent addition to our family meals, with my husband finding a recipe when looking online for ideas for dinner one night. We have, of course, adapted it to make it a quick and easy meal. You can make it your own by using different sabzi’s or different citrus juices and create an entirely different combination of tastes.
add the turmeric, cinnamon, salt, pepper and cumin, and gently fry until all the oil has been absorbed, and the mixture looks quite dry
add the reserved tlb oil with the chicken and cook for around 5 minutes, until the surface of the chicken pieces are sealed
add the mint, coriander and fresh leek, and stir fry until the sabzi looks quite limp
Stir through the chopped spinach, and cook for a further 5 minutes
add lemon juice, chick peas and enough water to just cover the khoresh
bring to the boil and the reduce heat to simmer for 30 minutes
add more salt or lemon juice to taste and the tinned chick peas
simmer for around around 1hour until the flavor has developed and the sauce has slightly thickened
Notes
This khoresh is very rich in flavor, and has that lovely torsh tang from the lemon juice. Serve with white polo rice and a side salad of mixed leaves, tomato and cucumber.
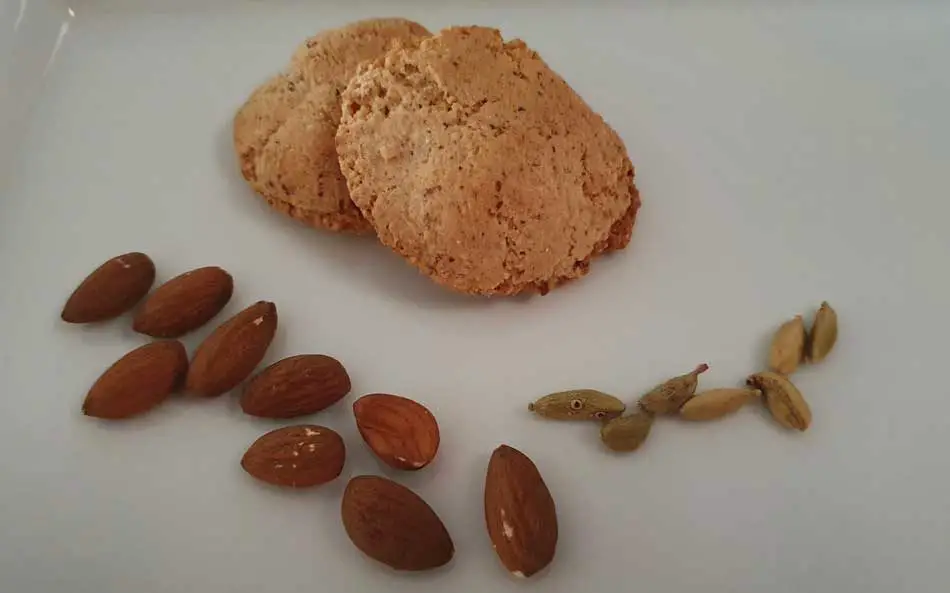
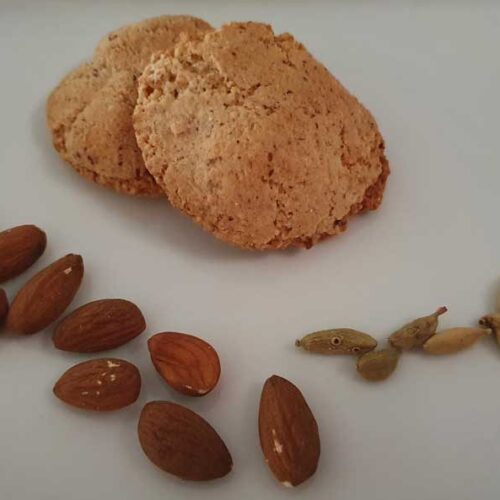
Ghorabieh is a soft chewy almond macaroon popular in Iran. This version doesn’t use flour, and is Gluten Free. The rose water and cardamom adds a lovely middle eastern flavour to this cookie.
I usually make this recipe when I have left over egg whites from making Tachin or fresh Barbari bread.
Traditionally these cookies are soft and chewy, with a slight crunch on the outside. If you wish a crunchier cookie, then when the color starts to turn, drop the temperature and to 140 deg and leave to cook for a further 10 – 20 minutes.
I recently had a similar dish to this at a friends house and it was absolutely delightful. So when we had left over Salmon from Christmas lunch this year I decided to make my own rendition of Sabzi Mahi Polo. Hope you enjoy it.
My husband had cooked the salmon on the BBQ for Christmas lunch, and had drizzled it with a glaze of lemon marmalade before cooking it. This added a sweet lemon taste to the fresh salmon, and combined with fresh dill this dish incorporated wonderful flavors creating a truly unique Sabzi Mahi Polo.
Once you have mastered the standard Persian Layered Rice, you can really make it with anything. And this was a wonderful way of using excess Salmon.
Things to note when making Salmon and Dill Layered Rice – Sabzi Mahi Polo
When making Persian layered rice, you always need to start with a well greased rice dish to form a crunchy tahdig. I always use my Persian Rice Cooker as this makes the whole process much easier.
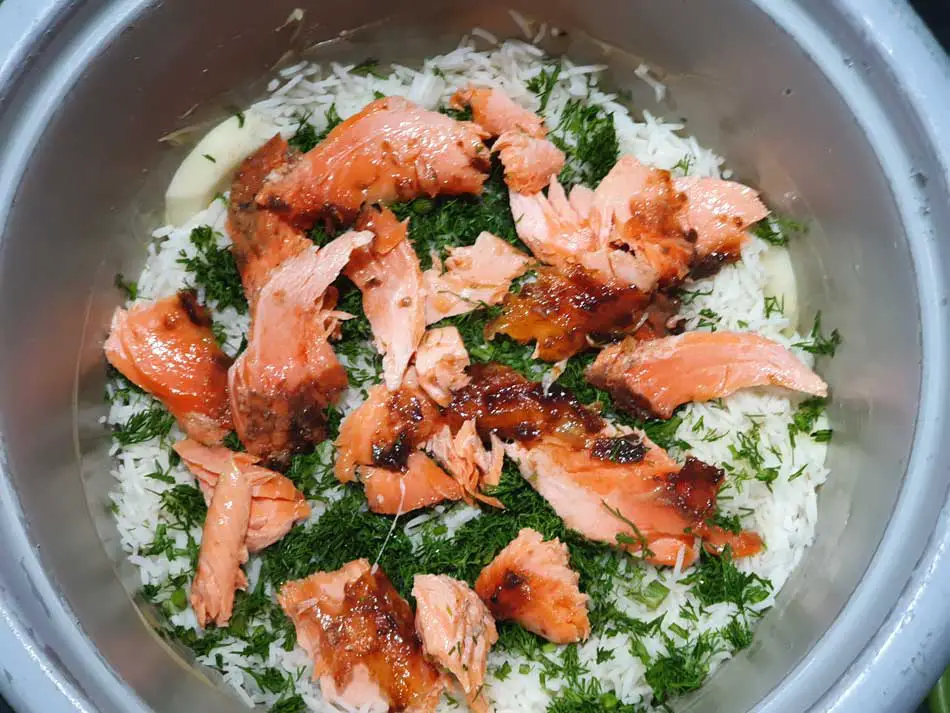
Start with a layer of potato, and then a layer of rice. It is essential that you are gentle with the rice when handling the par cooked rice. I always say that you have to treat the rice with love. Then add a layer of fresh dill, and broken pieces if the cooked salmon. Repeat until all the rice, dill and salmon is used. You can see that lovely gleam of the lemon marmalade glaze on the salmon.
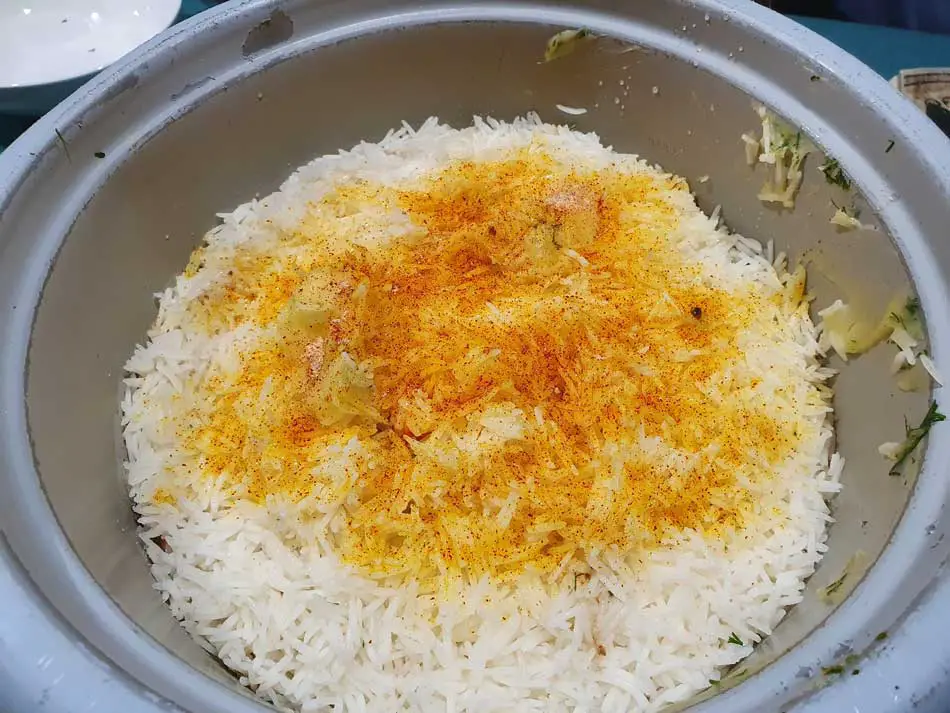
Once all the layer are completed, sprinkle with powdered saffron. This adds a lovely flavor to the rice along with the golden color saffron is so well known for. Add a few nobs of ghee to add that lovely buttery taste and pop it into the rice cooker.
To ensure that a good tahdig is formed, you need to be sure that no moisture drips to the bottom of the rice cooker pan. This is traditionally achieved by placing a tea-towel on the top of the rice cooker bowel before putting on the lid. This traps the steam in the cloth preventing drips of water ruining the tahdig.
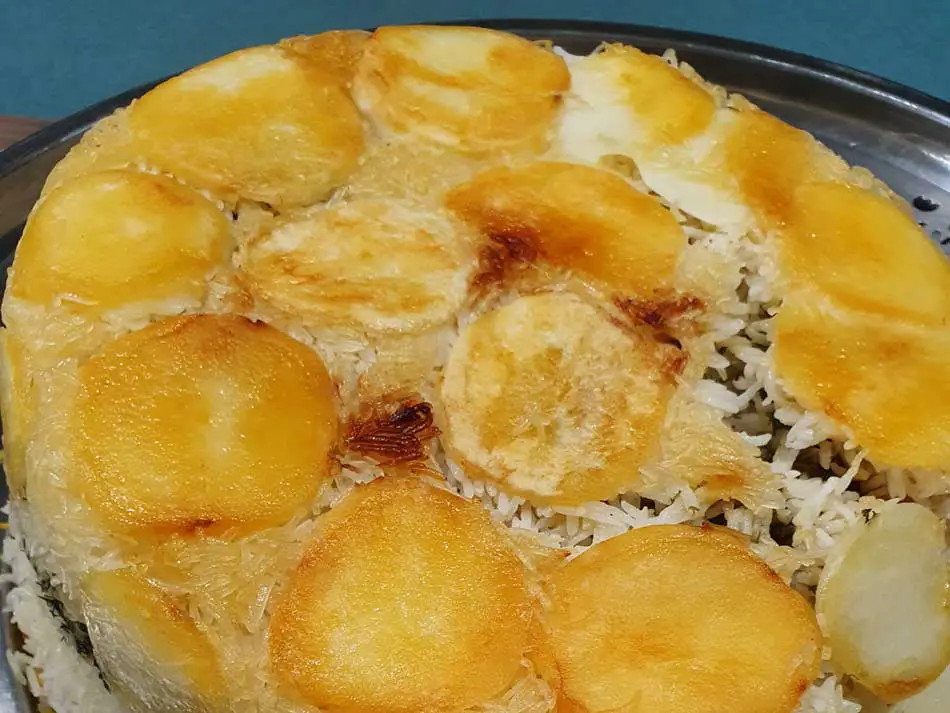
When cooked turn the rice cooker dish upside down onto a round rice serving dish and admire the wonderful golden, crunchy tahdig.
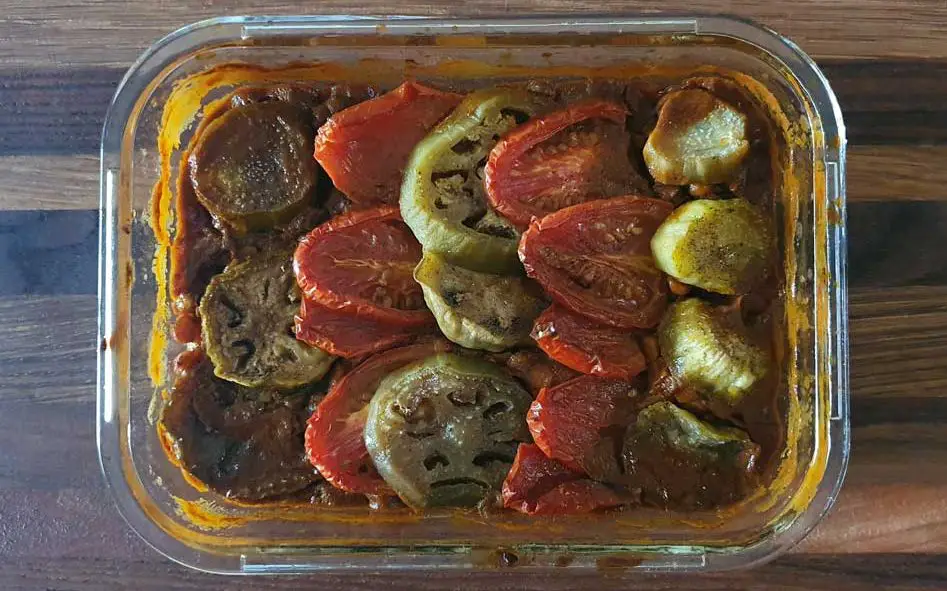
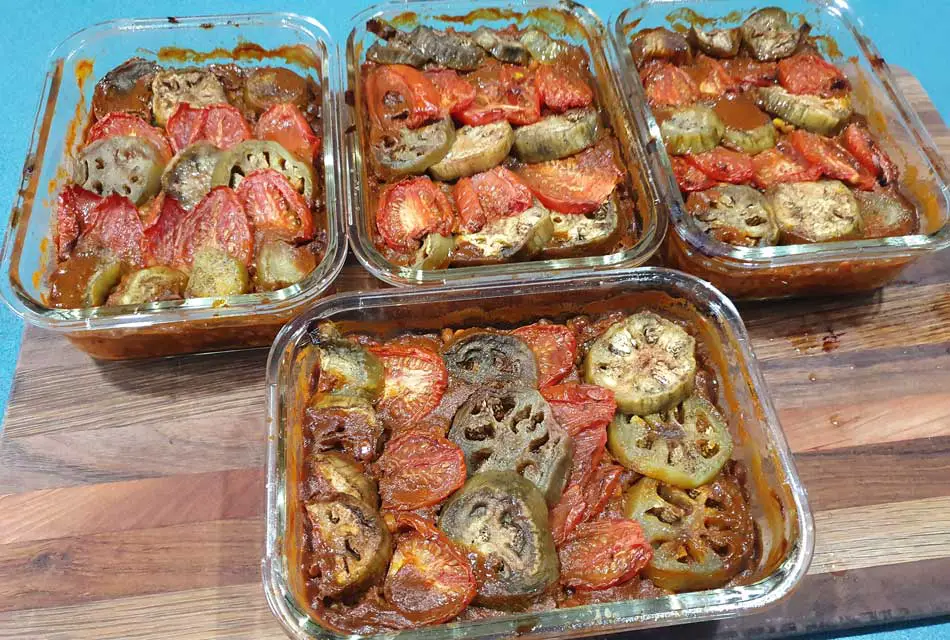
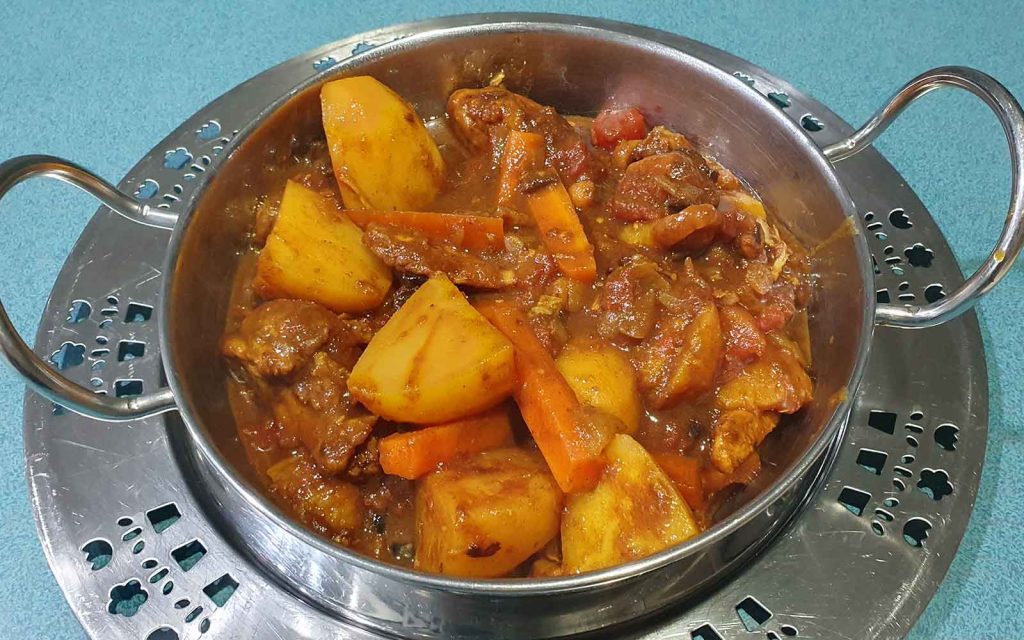
One of our favourite recipes to prepare in advance to batch cook and freeze is this Khoresh Gheymeh Bademjan recipe. The eggplant and tomato topping adds a more elegant twist to this traditional recipe.
This version is vegetarian but can just as easily be made with chunks of lamb.
Things to note when making Khoresh Gheymeh Bademjan
Be sure to use enough oil when initially frying the onion and the spices. The turmeric specifically can form a coating on the bottom of the saucepan if you don’t use enough oil.
I pulse my dried lime – limmoo amani – in the food processor to break them up into a course powder. I prefer to do this than use the whole pierced dried lime as is often traditionally used.
When adding the prunes, I prefer to add them at the end. I divide them between the glass casserole dishes and then add the prepared Geymeh over the top. This results in the prunes keeping their shape while taking on the flavor of the khoresh. A burst of flavor when biting into the prune.
Pre-boiling the sliced eggplant was a tip given to me by my sister-in-law when she came over for a visit from Iran. This reduces the amount of oil absorbed by the eggplant when frying, but for this recipe, as the dish is baked in the oven, the eggplant does not need to be fried before layering on the top of the dish with the tomatoes.
Drizzling tamarind or pomegranate syrup over the top, and sprinkling with sesame seeds and crushed pepper just before the final cook in the oven results in a rich glaze giving an element finish to the final dish.
This recipe is great when preparing for large gatherings, but overtime I have found this, along with Gorme Sabzi, to be one of the best batch cook and freeze recipes.
Serve with white Persian rice with crispy potato tahdig and air fryer chips. An amazing, last minute easy Persian meal straight from the freezer.
Khoresh Gheymeh Bademjan – Persian Stew with Split Peas and Eggplant
A delightful easy recipe to prepare ahead for the busy household. Serve with Persian polo rice and chips.
Gently fry onion, turmeric, salt and cumin until the onion is transparent, adding oil generously as needed.
Stir through the dried lime and let cook for a further 1 minute or so.
Add washed yellow split peas, stirring through the mixture.
Add tinned tomatoes, tomato paste and turmeric, and enough water to cover.
Bring to boil and leave to gently simmer for about an hour. Regularly stirring, and adding more water as needed.
Prepare Topping
Thickly slice the eggplant into ½ inch rounds
Bring large saucepan of salty water to the boil.
Drop in the eggplant in batches and cook until semi-transparent. Do not over cook.
Drain on a tea towel or paper towel until dry.
Thickly slice the tomato into ½ inch rounds
Putting it all together
Divide the prunes between 4 – 5 glass oven proof serving dishes
Spoon the Khoresh Gheymeh on top of the prunes
Layer rows of boiled eggplant and tomato alternately
Diagonally drizzle tamarind syrup decoratively across the top
Optionally sprinkle with crushed black pepper, rock salt and sesame seeds
Cook in a moderate oven (180° C) for around 30 – 45 minutes
Notes
This recipe makes 5 meals for our family. One for the day when I make it and 4 more for the freezer.Remove from the freezer and let defrost on the shelf during the day. Pop into the oven to heat while preparing the polo rice and air fried chips.
Sour cherry and oat cookies is the first of my experimenting with the sour cherries, to add a Persian twist to some of our regular Western recipes.
This is a variation of “Crinkle Top Raisin Oatmeal Cookies” I replaced the raisins with sour cherries (albaloo) and the result was quite amazing. The sour cherry added a tang to the biscuit making it quite delicious.
Things to Note when making Sour Cherry and Oat Cookies:
Process the dried sour cherry with flour for even distribution
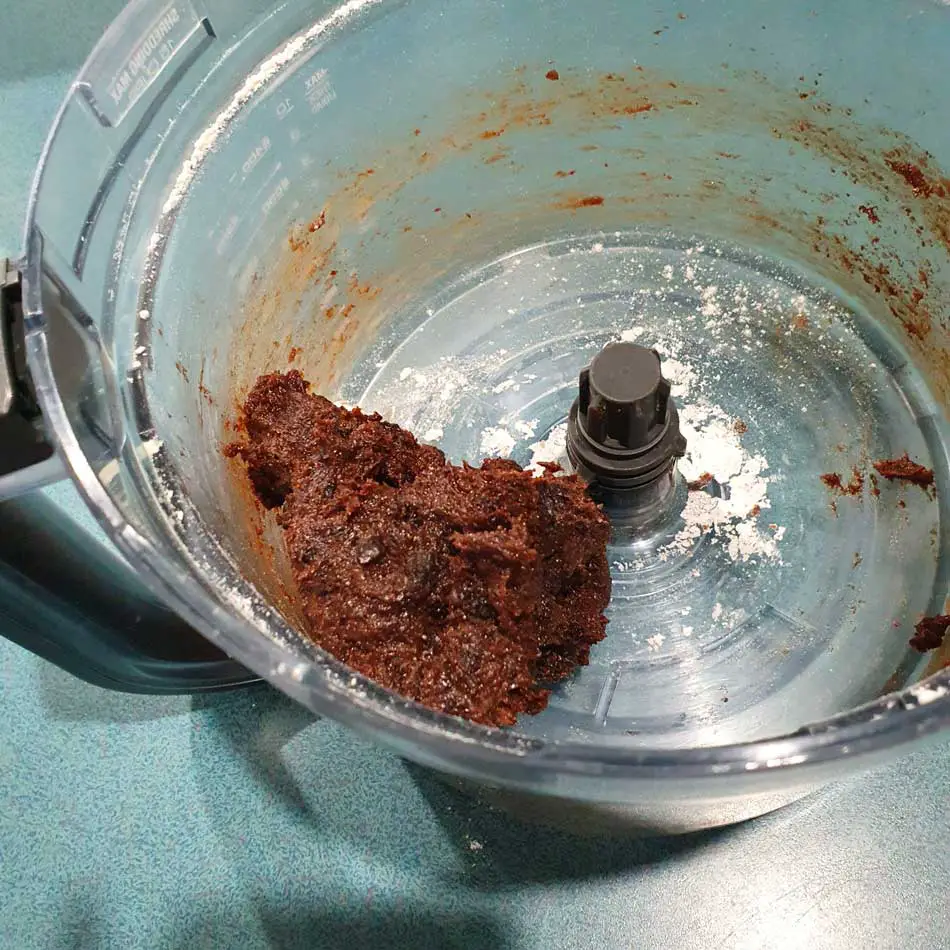
When using the food processor to process the sour cherry with the flour, keep going until a ball is formed. This can take a while, and you will think that it isn’t going to happen, but it will. The sour cherry will form a thick paste similar to the photo below. This is important to be sure that the sour cherry is disbursed throughout the cookie.
Cream Butter and Sugar well
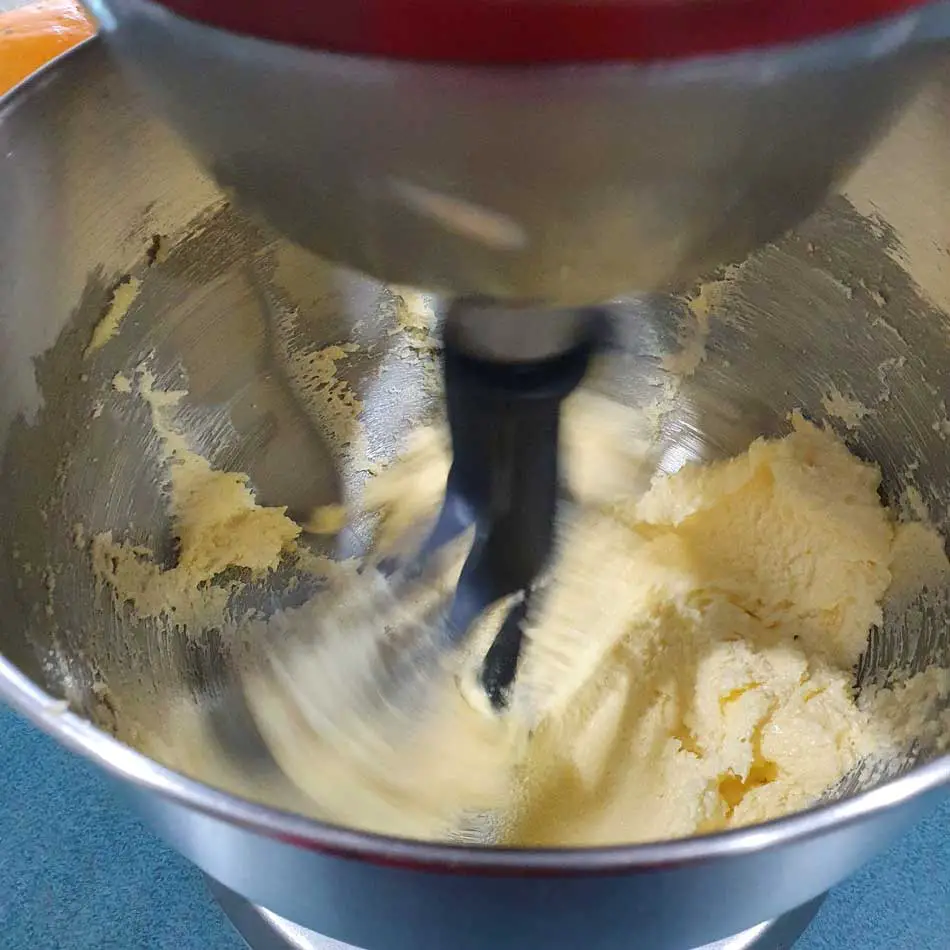
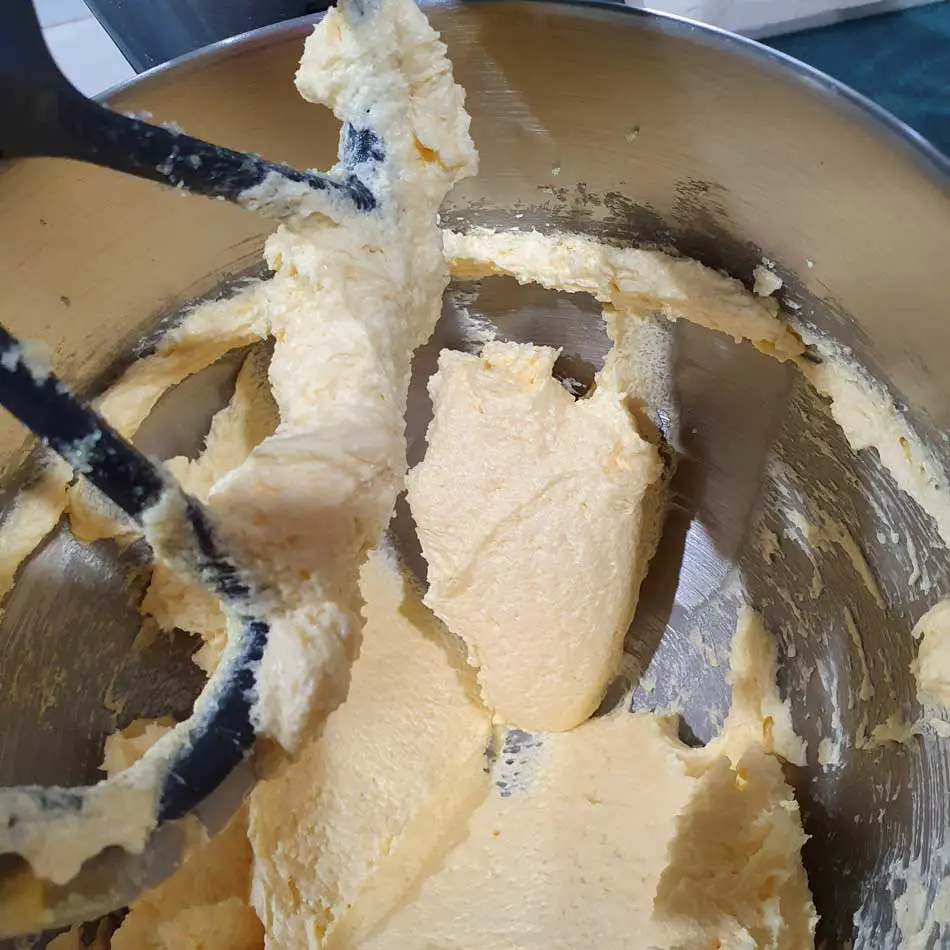
Be sure to cream the butter and sugar until all the sugar granules are dissolved. You could use caster sugar, but I find it easier to have just one type of white sugar in my cupboard.
After the egg is added, be sure to mix well until the mixture increases in volume and has the consistency of light frosting. These 2 steps are very important as it results in a lighter, less dense cookie. The mixing adds small air pockets into the dough, swelling with steam as the dough is cooked in the oven. The lighter dough also means that the sugar and butter will melt more slowly, decreasing the spread of the cookie. When the mixture is of the right consistency add the sour cherry mixture and keep mixing on a high setting until well combined.
Combine all the dry ingredients together
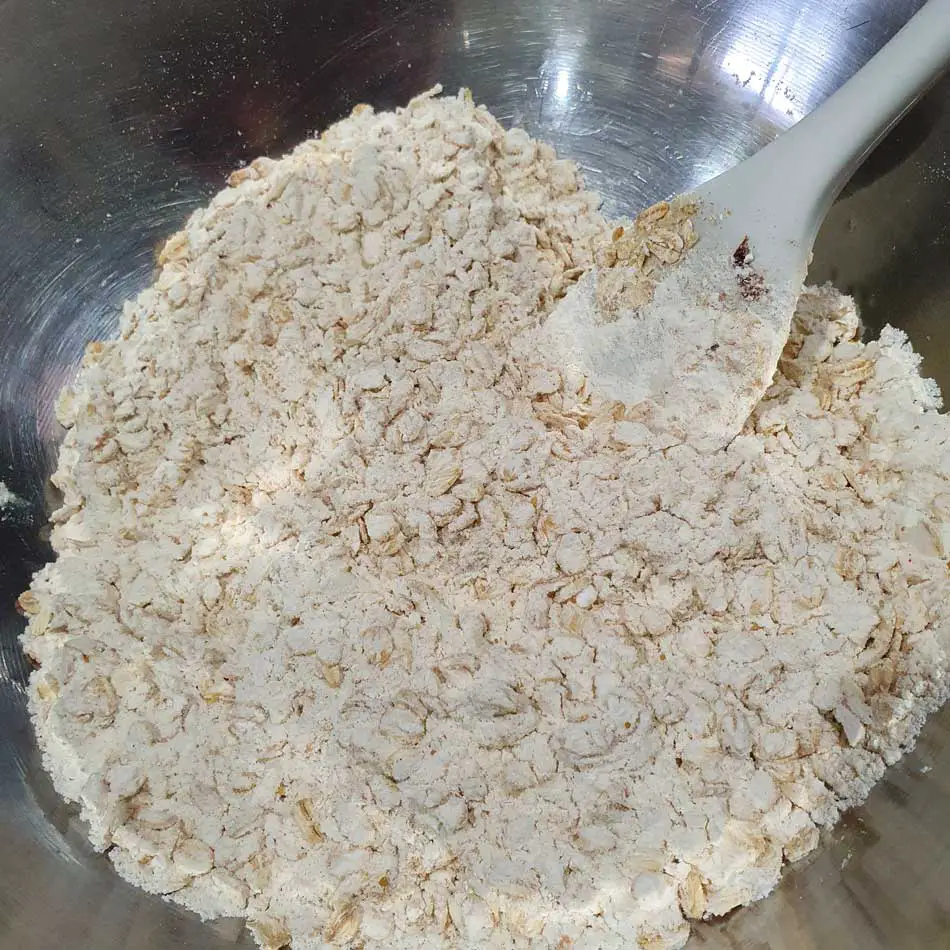
Combine all the dry ingredients together and mix well. This is important to ensure that the flour, oats, baking soda (bi-carbonate of soda), salt and cinnamon are evenly distributed through out the cookie. Because as we combine the ingredients we need to gently stir them together.
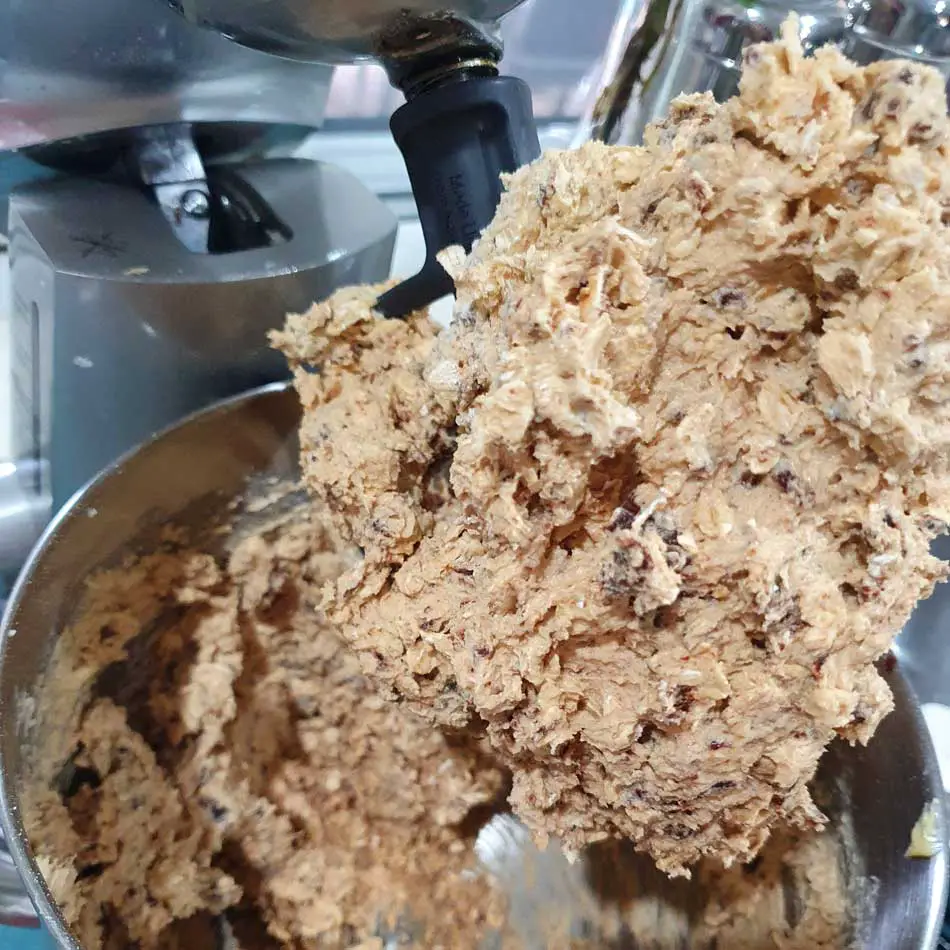
At this point we then need to start becoming more gentle with the mixture. I do this with the paddle attachment on my orbital stand mixture on the lowest speed. Stop as soon as everything is completely combined as we don’t want to remove those air-bubbles we so lovingly added earlier.
Roll into golf ball sized rounds and place on lined cookie trays ready to bake. The recipe makes 60 sour cherry and oat cookies, and I use 3 cookie trays with 20 on each. If this is too many cookies then you can pop one or 2 of the trays into the freezer and when the dough is frozen pack into zip lock freezer bags for storage.
I always like to leave the trays of uncooked cookies to rest on the shelf while I preheat the oven.
Sour Cherry and Oat Cookies
This is a Persian version of a family favourite. Crinkle Top Oatmeal and Raisin cookies.
Zucchini and Beetroot Fritters make a nutritious light breakfast or an addition to a picnic.
It must be the season for beetroot with a lovely supply at the markets this week. This recipe uses beetroot with the wonderfully fresh organic zucchini from the local farmers market. A simple weekend breakfast or a picnic snack. I love to experiment with the color and taste of beetroot, and mixed with the turmeric, these fritters develop a lovely color. Serve with yogurt and cucumber.
Zucchini and Beetroot Fritters
Beetroot is a wonderful nutritious vegetable, and adds an interesting color and taste to food.
Ingredients